
Last updated October 30, 2026
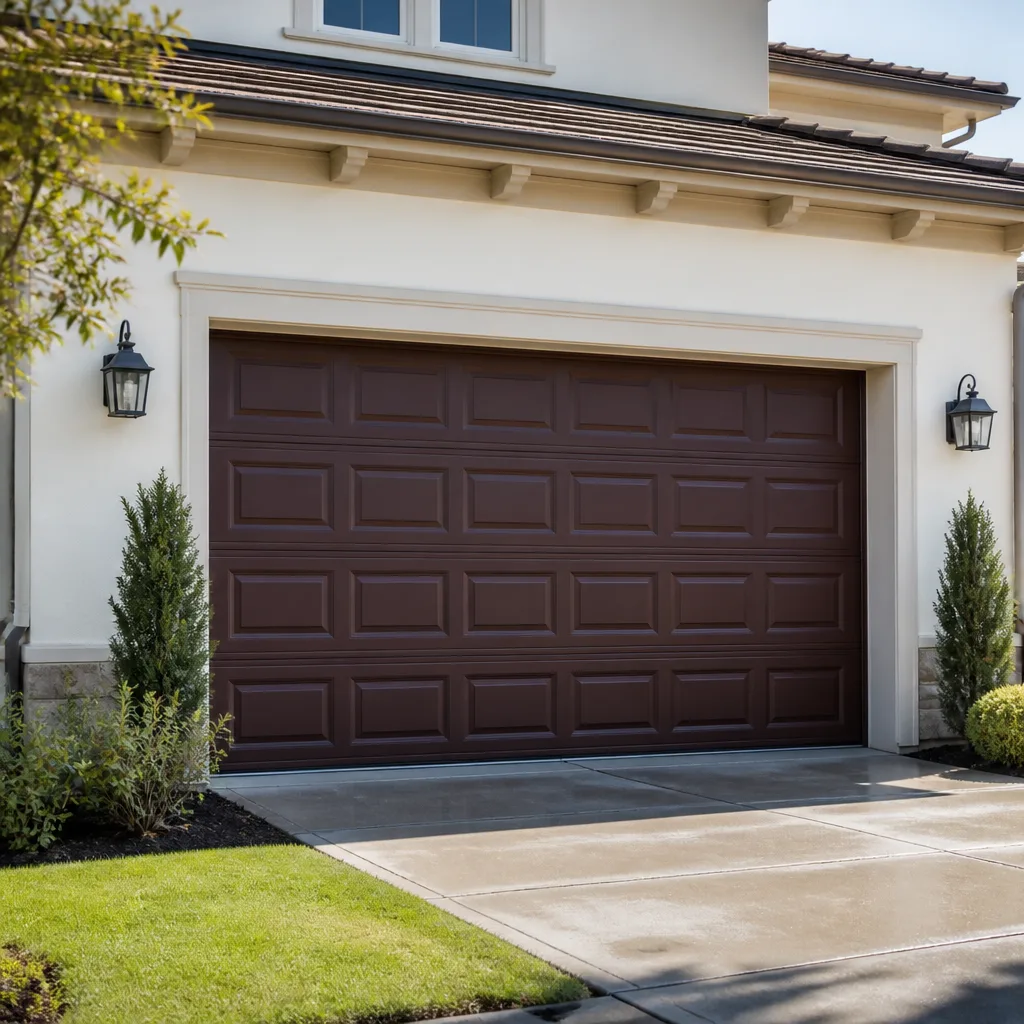 Raised-panel steel
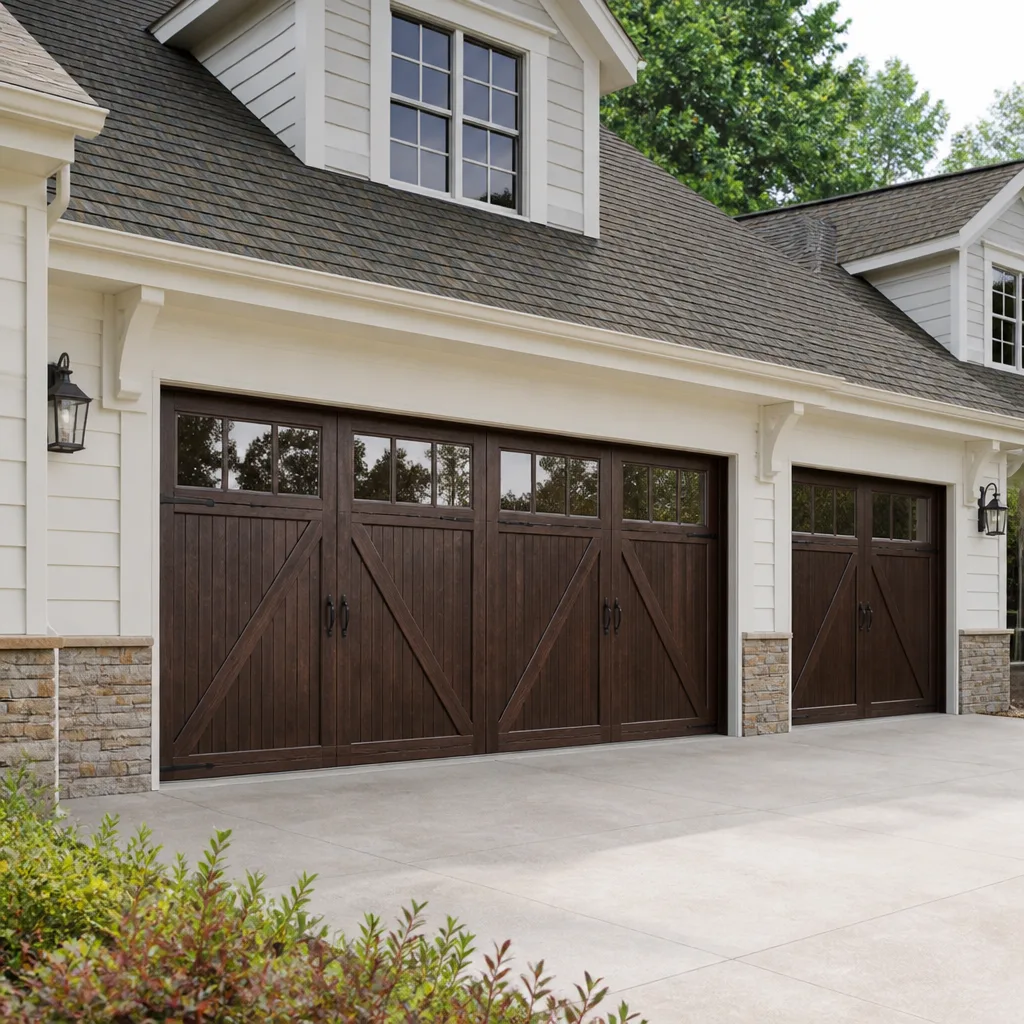 Carriage house
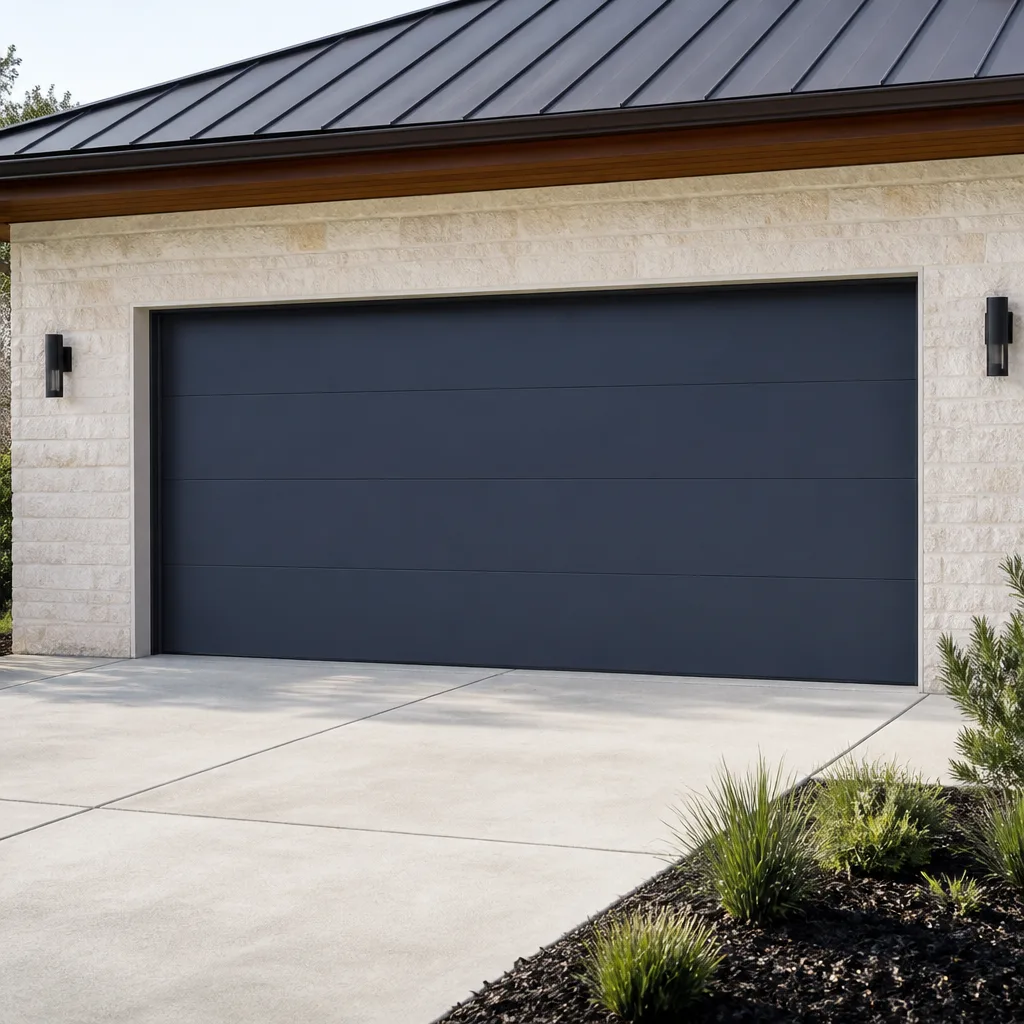 Modern flush
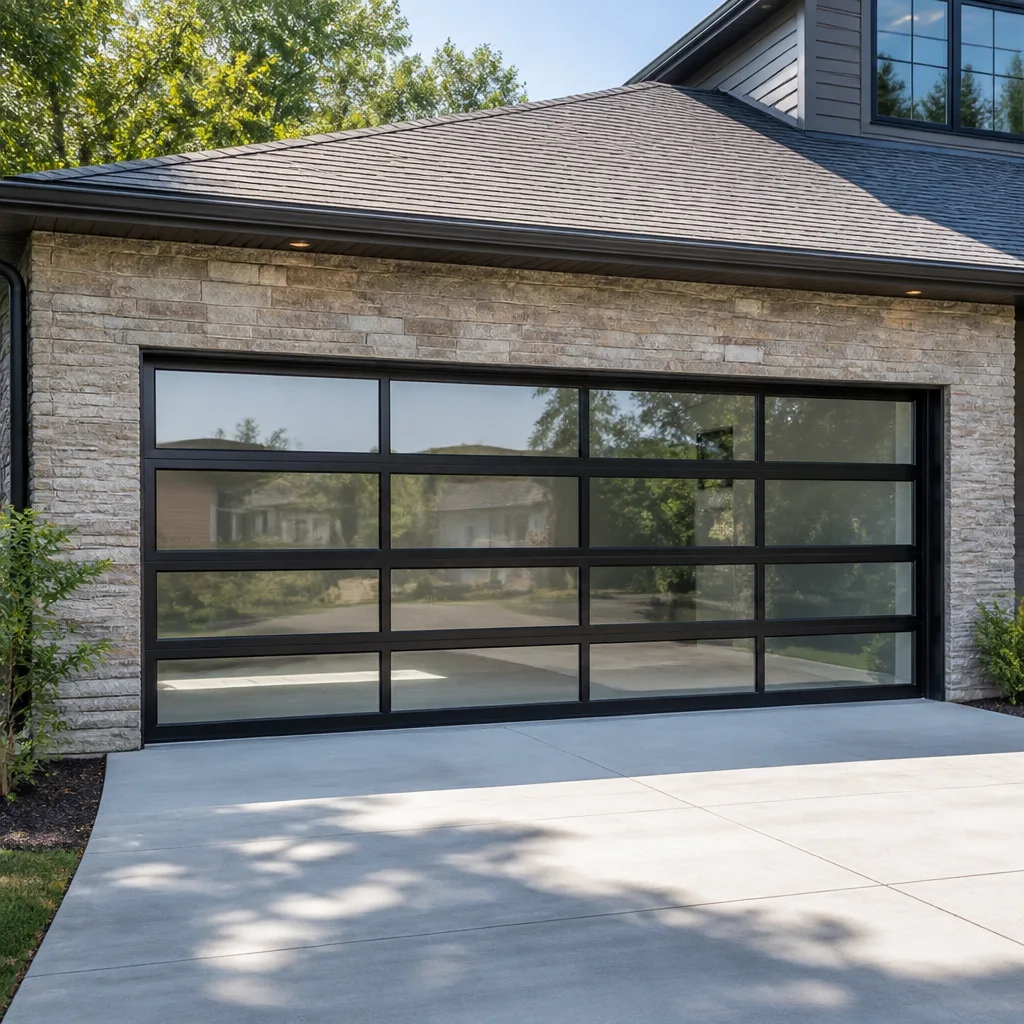 Full-view glass
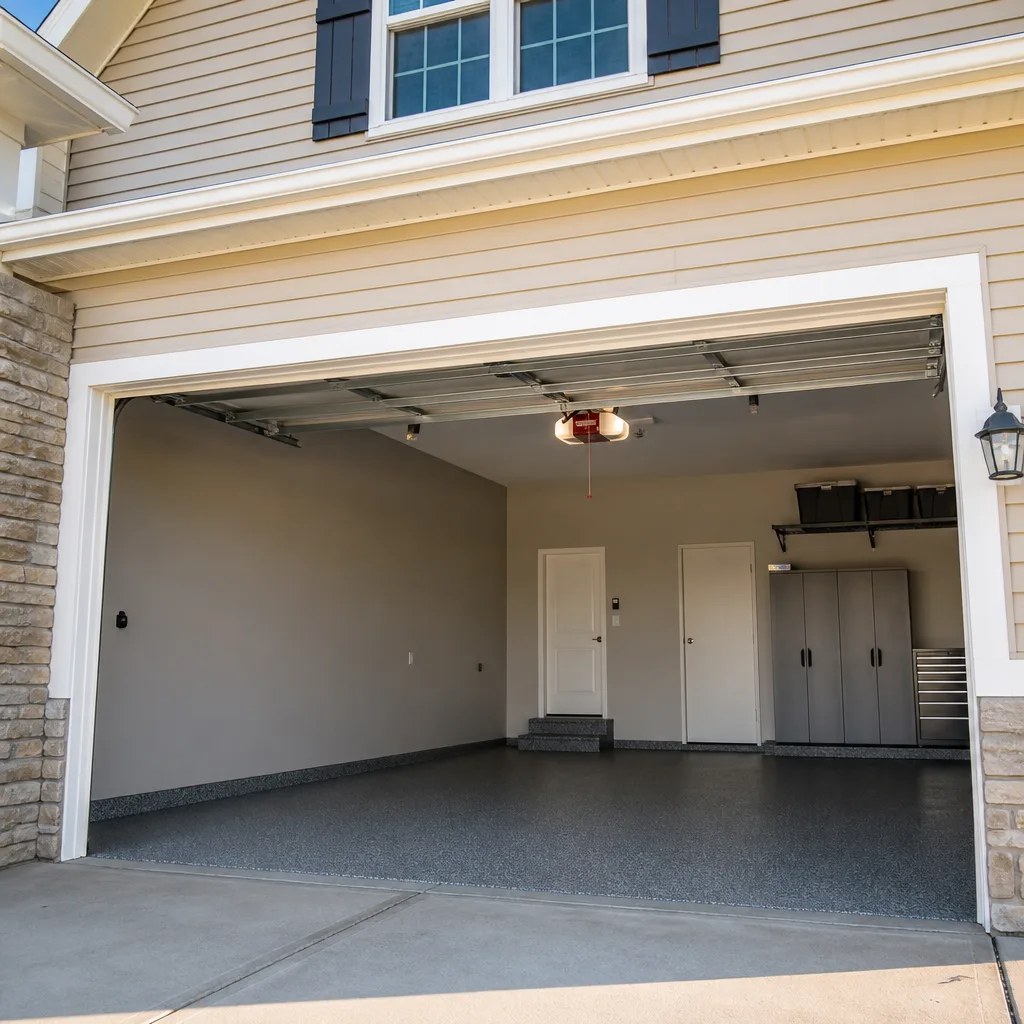 LiftMaster openers
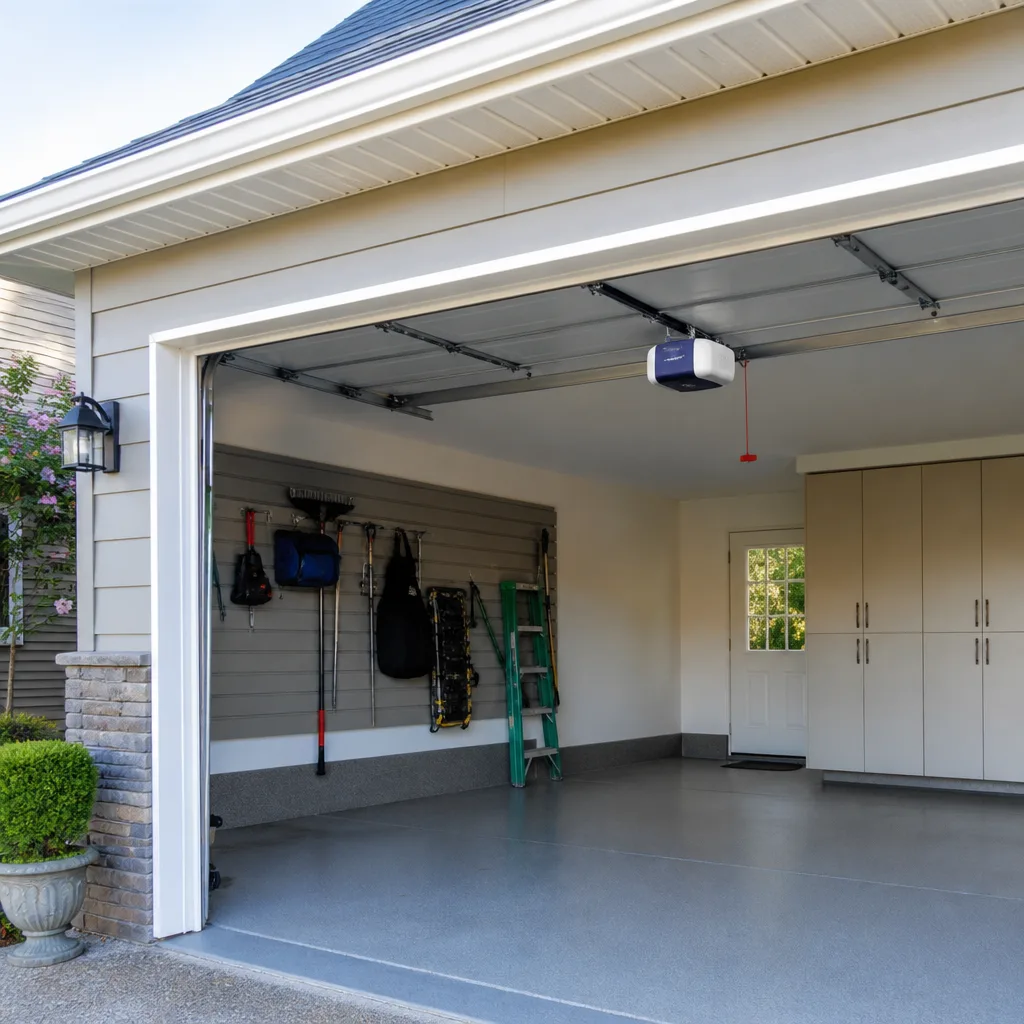 Chamberlain openers
Full 25-point door and opener safety check with every visit - springs, cables, rollers, tracks, and your LiftMaster or Chamberlain opener included
You get a price before we start. It does not change when the truck arrives.
Get your free estimateGarage Door Repair Maintenance Checklist for San Bernardino Homeowners
The most common cause of premature spring failure in San Bernardino isn’t age. It’s the wrong lubricant baking onto coils in 105-degree heat, turning into a varnish that accelerates metal fatigue. We see this every summer on doors that are barely five years old. This checklist tells you exactly which parts to lubricate, which products to use, which parts to leave dry, and how San Bernardino’s specific climate changes the maintenance interval compared to coastal cities 60 miles west. You’ll also learn where the DIY line sits, because crossing it with a torsion spring can put you in the emergency room.
Quick Answer
A proper garage door maintenance routine in San Bernardino means lubricating specific components every 4 months (not the generic “twice a year” advice written for milder climates), testing door balance twice a year, inspecting rollers and cables for visible wear, checking weatherstripping for UV damage every spring, and leaving anything involving torsion springs to a licensed technician. Most homeowners can handle lubrication and visual checks themselves. Spring replacement and cable work require Garage Door Repair services with professional tools and training.
Styles & brands we work with
Table of Contents
- Lubrication Specs by Component: What Gets What in San Bernardino Heat
- How to Perform a Door Balance Test and Interpret the Results
- Cable and Roller Wear Indicators You Can Spot Without Tools
- Seasonal Adjustment Points for High-Heat, High-UV Environments
- Which Maintenance Tasks Void Warranties and Where the DIY Line Sits
- A Monthly and Quarterly Maintenance Schedule That Actually Works
- Common Mistakes to Avoid
- When to Call a Professional
- Frequently Asked Questions
Lubrication Specs by Component: What Gets What in San Bernardino Heat
Most checklists say “lubricate moving parts” and leave it there. That’s worse than useless in San Bernardino, because using the wrong product on the wrong part creates the exact varnish problem that kills springs early. Here’s the breakdown of what actually works on each component.
What Gets Silicone Spray (Not Grease)
- Torsion springs: Use a white lithium spray or silicone spray, never grease. Grease traps grit and bakes onto the coils in San Bernardino summers. Spray the top and sides of the coils so lubricant seeps between them as the spring twists.
- Hinges: All hinge pivot points on each panel get a light silicone spray. Wipe off excess with a rag. Excess attracts dust, and dust mixed with lubricant turns into grinding paste.
- Rollers: Steel rollers with ball bearings get silicone spray on the bearing area only. Never spray the roller face that contacts the track. Lubricant on the track surface causes slippage and uneven travel.
What Gets Lithium Grease (Not Spray)
- The opener rail: On chain-drive openers from LiftMaster, Chamberlain, and Craftsman, apply a thin bead of lithium grease along the chain rail. Wipe off excess. A globbed-up rail drags the trolley and strains the motor.
- Screw-drive opener threads: If your Genie screw-drive opener has a visible threaded rod, it takes a specific low-temperature grease formulated for screw drives. Check the manual, because the wrong grease here causes binding.
What Stays Completely Dry
- Tracks: The vertical and horizontal rails are not moving parts. Lubricant on tracks collects dust and causes rollers to skid instead of roll. If your tracks are dirty, wipe them with a dry rag.
- Belt-drive opener rails: Belts are reinforced with fiber and don’t need lubrication. Adding any product shortens belt life on Chamberlain and LiftMaster belt drives.
- Bottom seal and weatherstripping: These get a UV protectant or silicone-based rubber conditioner in high-heat climates, never petroleum-based lubricants, which degrade the rubber fast.
Heat context matters. A door lubricated in April with the right products will still be smooth in August at 100 degrees. A door done in April with general-purpose grease will be sluggish by July, because the grease thickens with dust and heat. In San Bernardino, we recommend a 3-to-4-month lubrication interval for springs and hinges, not the 6 months you’ll see in generic guides written for coastal weather.
How to Perform a Door Balance Test and Interpret the Results
Balance testing tells you how hard the springs are working against the door’s weight. A properly balanced door stays where you put it. An unbalanced one drifts, and that drift is measurable. Here’s the exact procedure and what the numbers mean.
- Disconnect the opener. Pull the red release cord while the door is closed. This disengages the trolley so you’re testing the door itself, not the motor.
- Lift the door manually to waist height, around 36 to 48 inches off the ground. Use the handles or a safe grip on the bottom edge. Keep your hands clear of hinges and vertical track joints.
- Release the door slowly and watch what happens. Keep both hands near the door but not gripping, ready to catch it if it falls.
Now interpret the result:
- Door stays put, or drifts less than 2 inches either direction: Springs are doing their job. The balance is within normal range.
- Drifts 2 to 6 inches down: Springs are losing tension. This is early wear. You have weeks to months before it becomes a problem, but the springs are working harder than they should.
- Drops more than 6 inches or falls fast enough that you have to catch it: The springs are failing or one has already broken. Stop using the door. Every additional cycle risks cable damage and panel damage, and a fully failed torsion spring under load is dangerous to be near.
- Door rises on its own when released: The springs are over-tensioned. This is common after an inexperienced handyman adjusts springs without measuring the door’s actual weight. Over-tensioned springs fail faster and make the door slam-driven on the upward travel.
- Fraying near the bottom fixture: The lifting cables attach to the bottom brackets on both sides of the door. With the door closed, squat down and look at the cable where it enters the bracket. If you see individual wire strands separating or poking outward, that cable is failing. It’s a matter of weeks, not months.
- Rust discoloration anywhere along the cable run: Surface rust is common in garages with water heaters or swamp coolers adding humidity. Rusted cables lose strength even without visible fraying.
- Loose cable on the drum: With the door up, check that both cables are wrapped evenly around the drums at the top of the track. If one cable has slack or appears to be overlapping wraps unevenly, the door is pulling to one side. That sideways force bends tracks and wears rollers unevenly.
- Kinked or flattened sections: A cable that’s been caught or pinched will show a visible deformation. Any kink is a failure point waiting to happen under load.
- Worn wheel diameter: Steel rollers wear down over time, especially if the door is unbalanced. Compare a roller to its neighbors. If one is visibly smaller, replace it.
- Flat spots on nylon rollers: Nylon rollers from Wayne Dalton and Raynor doors are designed to be quiet, but they develop flat spots when the door is out of balance or tracks are misaligned. Run your finger around the wheel (door closed, roller stationary). Any flat section means replacement.
- Lateral wobble: Push the roller stem side to side with the door closed. A worn bearing allows the wheel to wobble. If it moves more than 1/16 of an inch, the bearing is gone.
- Ball bearing condition on steel rollers: Lift a steel roller wheel free of the track just enough to spin it. If it doesn’t spin freely or you feel grinding, the sealed bearing is shot. These go on LiftMaster and Craftsman doors regularly if they’ve never been lubricated.
- Bottom seal condition: The rubber strip along the bottom of the door takes direct UV exposure and contacts hot concrete every day. Check for cracks, flattening, and brittleness. In San Bernardino, a bottom seal typically lasts 3 to 5 years if it’s a quality product, compared to 6 to 8 years in milder climates. Replace it when it no longer springs back after being compressed.
- Perimeter weatherstripping: The vertical rubber strips along the door jamb get sun-bleached and stiff. Stiff weatherstripping gaps at the corners, letting dust and heat in. This is a big deal in San Bernardino because spring winds carry significant dust from the Cajon Pass.
- Opener motor temperature: Chain-drive openers working in a garage that hits 110 degrees run hotter than rated. Listen for unusual laboring sounds during summer operation. If the opener has a thermal overload, it will trip and fail to respond temporarily. This is often blamed on the opener when the real problem is inadequate garage ventilation.
- Lubricant reapplication: After four months of summer heat, lubricant that was applied in April has been baked, dusted, and dried. October-November is the time for a complete re-lubrication of springs, hinges, and rollers before the colder months change metal behavior.
- Track alignment after temperature swings: Metal tracks expand and contract with the 40+ degree temperature difference between San Bernardino summer afternoons and winter nights. Check that vertical tracks are still flush against the jamb and horizontal tracks haven’t pulled away from the ceiling hangers.
- Battery check on opener backup: If your LiftMaster or Chamberlain opener has a battery backup unit, test it in the fall. Power outages during winter storms and summer brownouts are both common in the Inland Empire.
- Lubricating hinges, springs, and rollers with the correct products
- Tightening visible nuts and bolts on hinges and brackets (with the door down)
- Replacing the bottom weather seal (slide-out style on most doors)
- Cleaning the photo eye sensors with a dry cloth
- Testing balance and visual inspection of cables and rollers
- Replacing opener remote batteries and reprogramming remotes
- Torsion spring replacement or adjustment: Torsion springs are under hundreds of pounds of tension. A winding bar slipping out of the cone can break bones or kill. Many manufacturers void spring warranties if replacement wasn’t performed by a qualified technician.
- Cable replacement or re-spooling: Cables share the spring’s tension load. The procedure for replacing a cable involves releasing spring tension, which is the same dangerous process as spring work.
- Track removal or re-hanging: Tracks bolt to the structure and support the door’s full weight. Incorrect track replacement can send a door off its rails, and a falling garage door weighs 130 to 350 pounds.
- Opener motor replacement or internal repairs: The electrical components and drive systems in LiftMaster, Chamberlain, Genie, and Craftsman openers require specific tools and testing. Opening the motor housing on a belt or chain drive unit usually voids the opener’s warranty.
- Operate the door once and listen. A healthy door is quiet. Squealing means unlubricated rollers. Grinding means bearing wear. Rattling means loose hardware. A single smooth open-close cycle tells you most of what you need to know.
- Check photo eye alignment. Both sensors on either side of the door should have a steady light, not blinking. If the door reverses for no reason, wipe the sensor lenses with a dry cloth.
- Check the reversal test. With the opener connected, place a roll of paper towels flat on the floor where the door closes. Close the door. It should reverse within 2 seconds of contacting the towels. This is a safety feature, not a convenience feature, and it’s required by federal law to work.
- Lubricate springs, hinges, and rollers using the product specs in the lubrication section above.
- Inspect cables visually from bottom brackets to drums, looking for fraying, rust, or slack.
- Check all hinge and bracket bolts for tightness. Loose hinge bolts cause panel misalignment, which causes the door to bind.
- Check the bottom seal for cracks, gaps, or flattening, especially along the corners where doors are most likely to seal poorly.
- Run the full balance test described above and log the result. A written log shows you drift over time, which tells you spring health better than any single test.
- Inspect all rollers individually, spinning and wiggling each one to check bearings.
- Clean the tracks with a dry rag and check track bolts for tightness.
- Lubricate the opener rail on chain-drive units with lithium grease.
- Using WD-40 on springs and hinges. WD-40 is a water displacer, not a lasting lubricant. It strips existing lubricant and leaves springs nearly dry within two weeks. In San Bernardino heat, this accelerates the exact varnish problem described at the top of this guide.
- Lubricating the tracks. Tracks are not moving parts and should stay dry. Lubricated tracks collect the fine dust that blows through San Bernardino from the high desert, creating a gritty paste that wears out rollers prematurely.
- Ignoring a squealing roller because it still works. A squealing roller is a failing bearing. By the time it seizes, it can flatten a track section and bend the door out of alignment. A $15 roller replacement turns into a $300 track repair.
- Adjusting the opener force settings to “fix” a heavy door. If the door is hard to lift manually, the springs are the problem, not the opener. Cranking up the opener force strains the motor and masks the spring problem until the spring breaks. From panel to opener to spring, every component has to work within spec.
- Replacing one spring but not the other. Torsion springs are installed in pairs and wear at the same rate. When one breaks, the other is close behind. Replacing only the broken spring means you’ll be back in 3 to 6 months paying labor twice.
- Using petroleum-based grease on rubber weatherstripping. Petroleum products break down the rubber compounds in bottom seals and perimeter strips. In high-UV San Bernardino, this double-loads the damage and turns your weather seal brittle within one summer.
- Yanking the red release cord while the door is open. If the door is open and you pull the release, the door can crash down. The release cord is only meant to be used when the door is closed, unless you’re testing balance as described above with the door supported at chest height.
A garage door in San Bernardino experiences wider temperature swings than most people realize. A door balanced in January at 45 degrees behaves differently in July at 100 degrees because metal springs expand and contract with temperature. Test balance twice a year, ideally once in cool weather and once in hot weather. If the result is different between seasons, that’s normal within the 2-inch range. If it’s outside that range in either season, the springs need attention.
Cable and Roller Wear Indicators You Can Spot Without Tools
You don’t need a ladder or a socket set to catch most cable and roller problems early. You need to know what worn components look like up close. Here are the visual indicators we look for on every service call in San Bernardino.
Cable Wear: What to Look For
Roller Wear: What to Look For
All of these checks take 10 minutes twice a year. They catch problems at the point where a $40 part swap prevents a $400 repair.
Seasonal Adjustment Points for High-Heat, High-UV Environments
San Bernardino’s climate punishes rubber and plastic components faster than almost anywhere else in California. The combination of intense UV, summer temperatures that regularly hit triple digits, and dry air degrades weatherstripping and seals at roughly twice the rate of coastal San Diego or Orange County. Here’s what needs checking on a seasonal schedule.
Spring and Summer Checks
Fall and Winter Checks
Which Maintenance Tasks Void Warranties and Where the DIY Line Sits
This is where we separate what you should do yourself from what requires a technician. For Garage Door Repair Troubleshooting: Common Problems and How to Fix Them, the line has nothing to do with skill and everything to do with safety.
Safe for Homeowners
Leave to a Technician, Regardless of DIY Videos
Manufacturer warranty documents are explicit about this. Genie, Chamberlain, and LiftMaster all state that spring replacement and cable work must be done by a trained professional. If you do this work yourself and the spring fails, the warranty is void and the liability is yours. We work on the brand you already have, and we’d rather replace a $200 part safely than see a homeowner attempt a $50 spring with a pair of vice grips.
A Monthly and Quarterly Maintenance Schedule That Actually Works
Most maintenance guides are checklists. This one is a calendar, because the number one reason maintenance doesn’t happen is that it doesn’t have a schedule attached to it. For more guides & resources, here’s the routine we recommend for San Bernardino homeowners.
Monthly (15 Minutes)
Quarterly (30 Minutes)
Twice a Year (45 Minutes)
If you’re a landlord or property manager in San Bernardino with multiple doors, this schedule scales. Do the monthly checks during scheduled inspections. The quarterly lubrication can be batched across all units in a maintenance day. Garage doors are all we do, and a property manager who calls us for scheduled maintenance gets a consistent door condition report across every unit, which is useful for capex planning.
Common Mistakes to Avoid
When to Call a Professional
Call a technician if you see any of these, in order of urgency. A snapped cable means the door is unsupported on one side and can drop or jam. A broken torsion spring means the door’s full weight is dead load, and the door won’t lift without causing further damage. An opener that hums but doesn’t move is usually a stripped gear or a seized drive, and continuing to press the button makes it worse. A door that’s visibly tilted or binding in the tracks is off-balance, and every cycle compounds the damage. For any of these, stop using the door and call. San Bernardino Garage Door Co offers free estimates in San Bernardino. Reach us at (855) 763-8905, and we’ll tell you honestly whether it’s a repair or a full garage door installation in San Bernardino before any work starts.
Frequently Asked Questions
Every 3 to 4 months, not the standard 6-month interval recommended for milder climates. San Bernardino’s summer heat bakes lubricant off springs and hinges faster, and the high-desert dust that blows through the pass thickens whatever remains. A spring that’s lubricated every 4 months typically lasts 3 to 5 years longer than one that’s done annually or not at all.
Lithium grease is a heavier lubricant for high-load metal-on-metal contact points like opener chains and screw-drive threads. Silicone spray is a lighter lubricant for springs, hinges, and rollers where a heavier grease would trap dust. Using grease on springs in San Bernardino is a specific mistake we see often, because the grease bakes in summer heat and turns to varnish. Call (855) 763-8905 if you’re not sure which product to use on your specific door, and have the brand or opener model number ready.
No. Torsion springs carry hundreds of pounds of tension, and when a winding bar lets go, it is a serious injury waiting to happen. Extension springs on older doors also present a risk if a cable breaks while you’re working. This is the one repair we tell every San Bernardino homeowner to never attempt, regardless of what internet videos suggest. Garage door repair in San Bernardino on springs and cables should be handled by a trained specialist.
A grinding noise from a chain-drive opener usually means the chain needs lubrication or the chain rail has accumulated built-up grease and dust. On screw-drive units, it often means the threaded rod is dry. If lubrication doesn’t resolve it, the drive gear inside the opener may be stripping. Garage door opener repair in San Bernardino is its own dedicated service for a reason: most openers from LiftMaster, Chamberlain, Genie, and Craftsman need specific parts, not generic fixes.
Standard torsion springs are rated for 10,000 cycles, which translates to roughly 7 to 10 years in a home where the door operates twice a day in San Bernardino. However, doors that get high use, doors on uninsulated garages where heat builds up, and doors that have never been lubricated properly can see spring failures in 3 to 5 years. The best way to know your spring’s health is the balance test described above.
We carry common replacement parts for LiftMaster, Chamberlain, Genie, Craftsman, Wayne Dalton, Raynor, Clopay, and Amarr doors on every truck. If you can tell us the brand and model off the label on the inside of your door panel, we can tell you before we arrive whether the part you need is on hand. Call (855) 763-8905 with the door down and the model visible, and we’ll help you identify what you have.
The Bottom Line
Garage door maintenance in San Bernardino is a different job than it is 60 miles west. The heat, UV, and dust that define this climate mean shorter lubrication intervals, faster rubber degradation, and specific product choices that matter more than generic guides suggest. Homeowners who spend 15 minutes a month and 45 minutes twice a year on the routine described here will catch most problems at the stage where a $15 roller or a $40 seal prevents a $400 repair. The parts that are dangerous to touch, torsion springs and lifting cables, belong in the hands of a specialist. Everything else, you can see, hear, and check yourself. If something doesn’t look right, don’t guess. Call (855) 763-8905 and someone who does this work every day will tell you whether it’s worth a visit.
Written by the team at San Bernardino Garage Door Co, serving San Bernardino since 2016.
See the difference
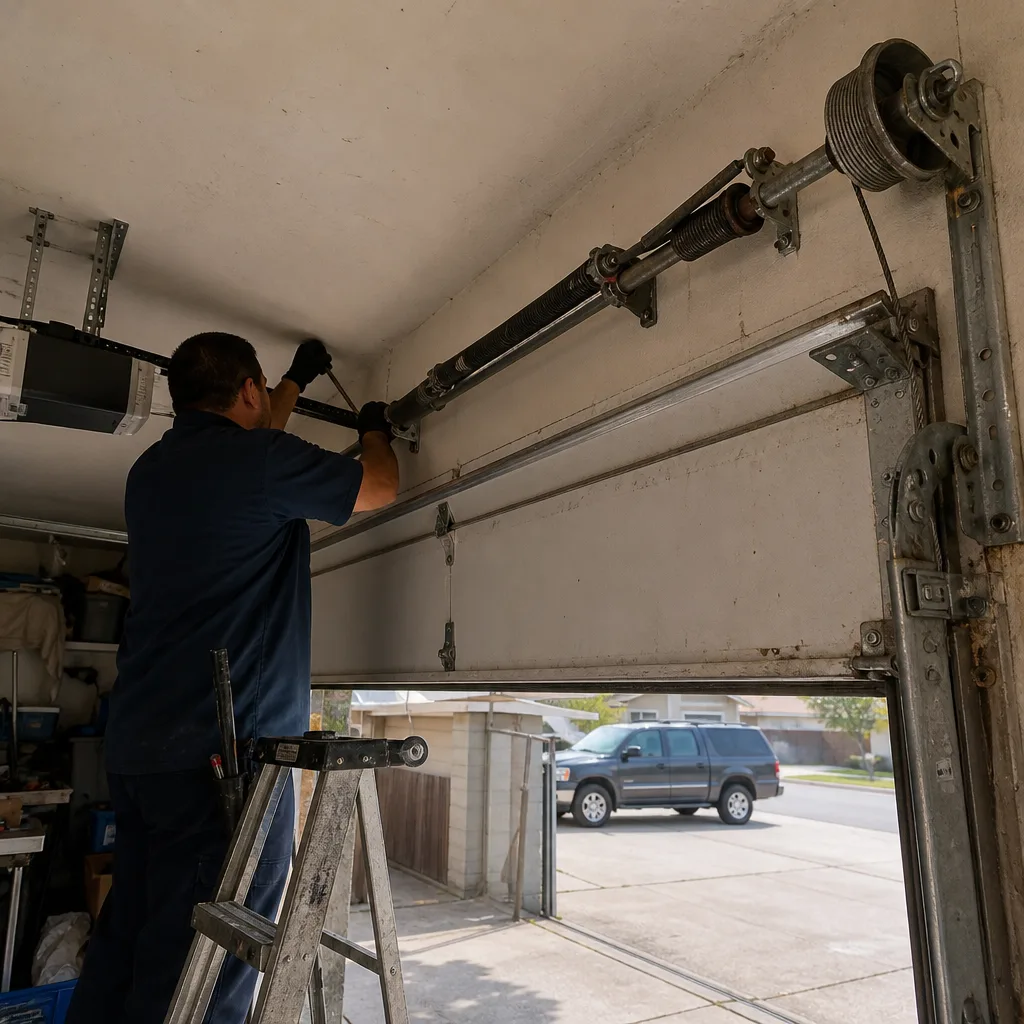 Before
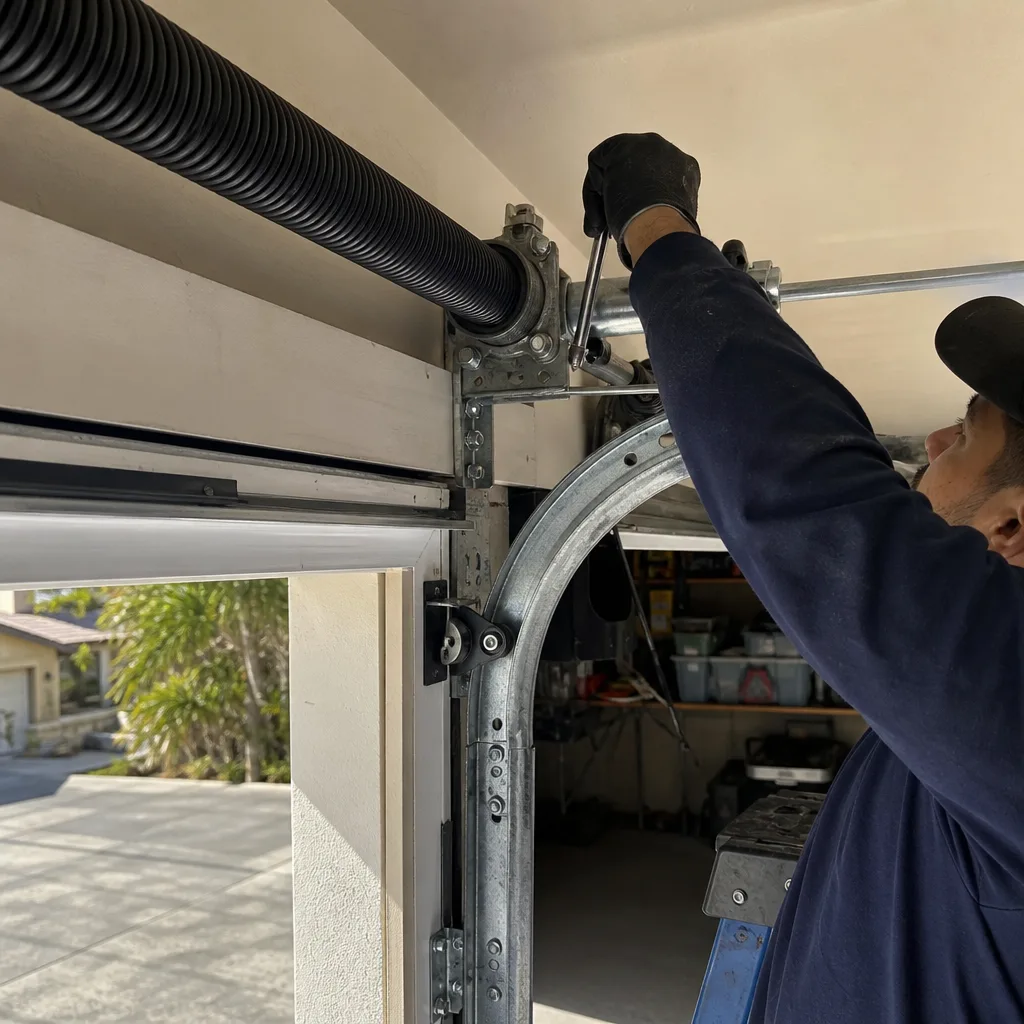 After
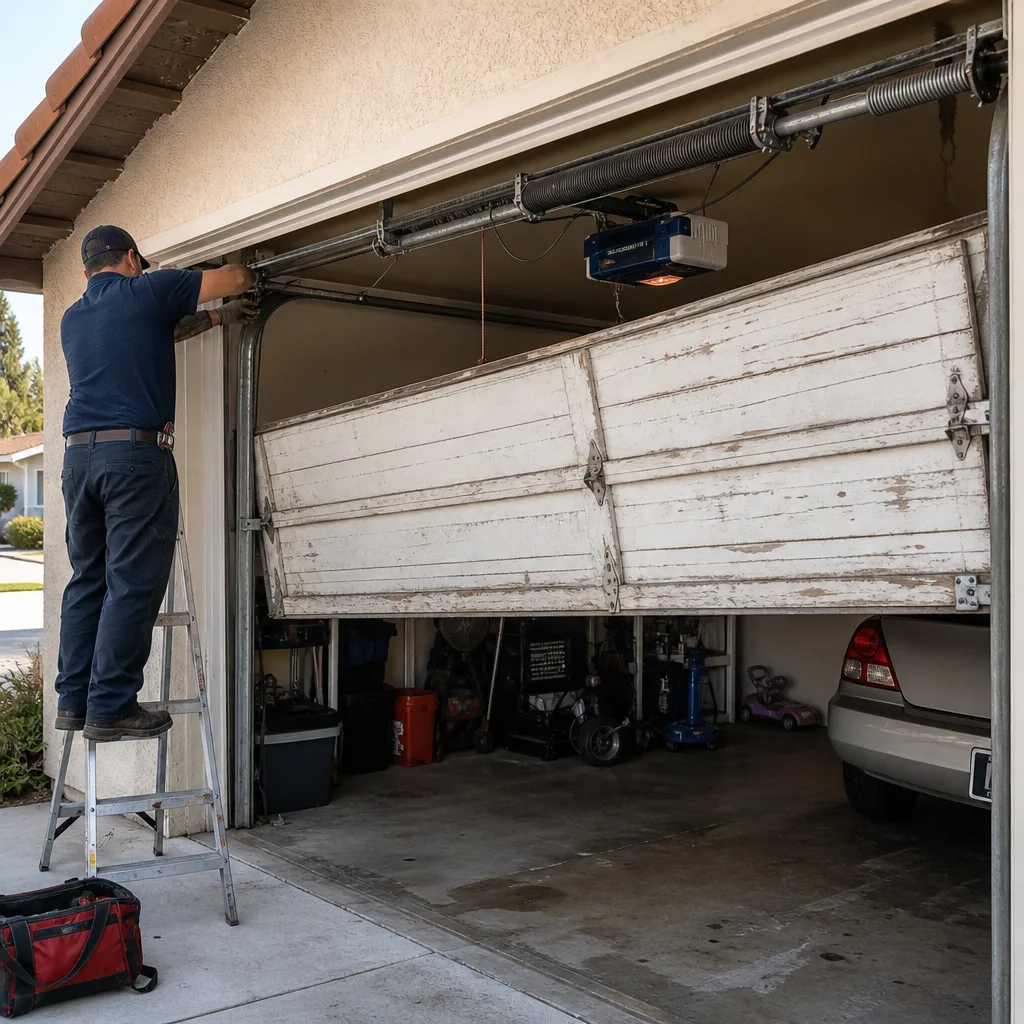 Before
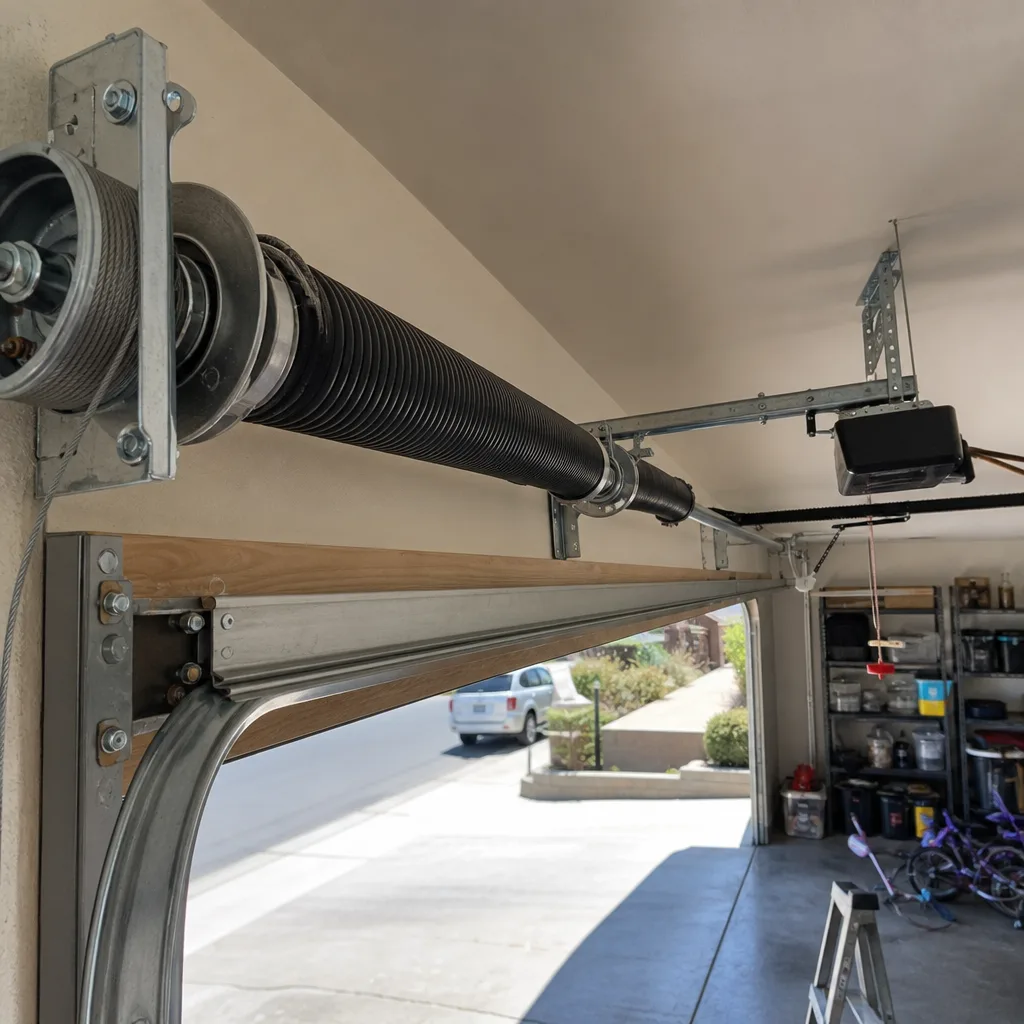 After
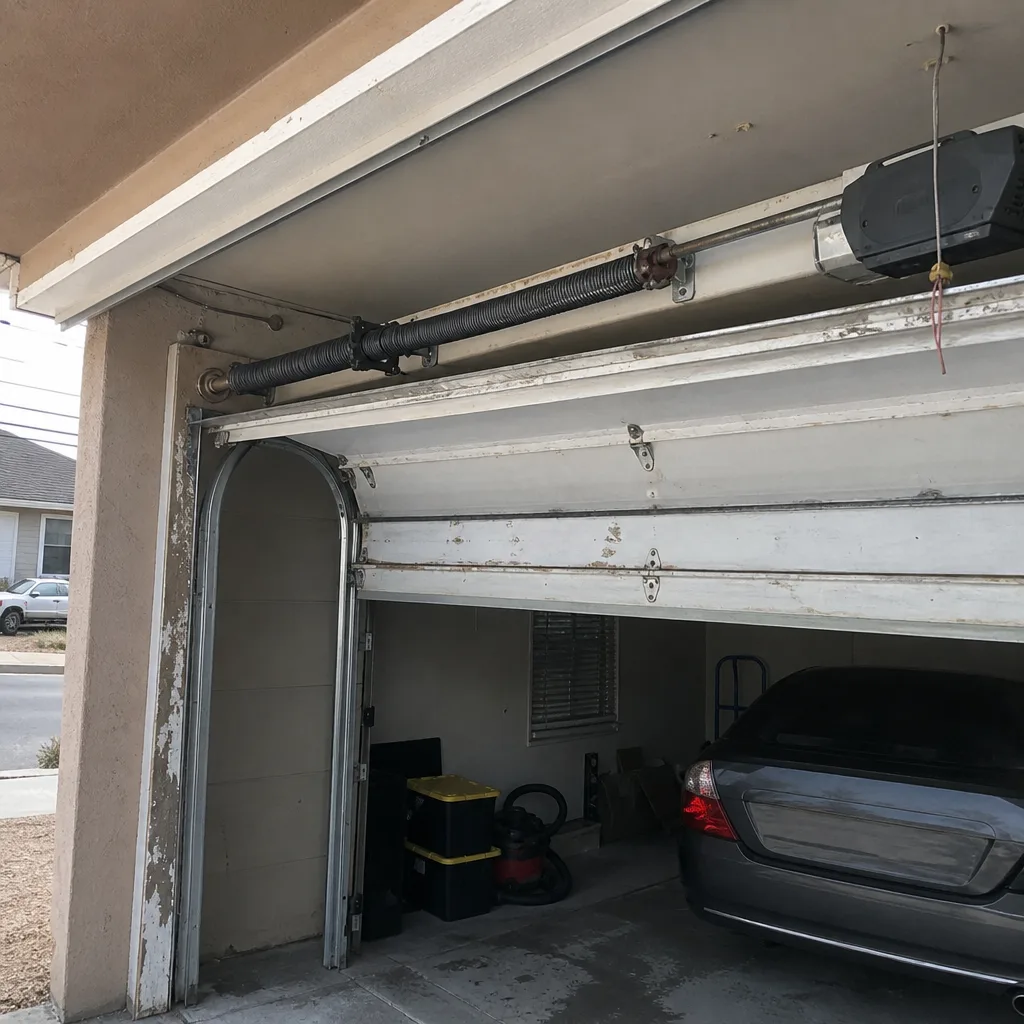 Before
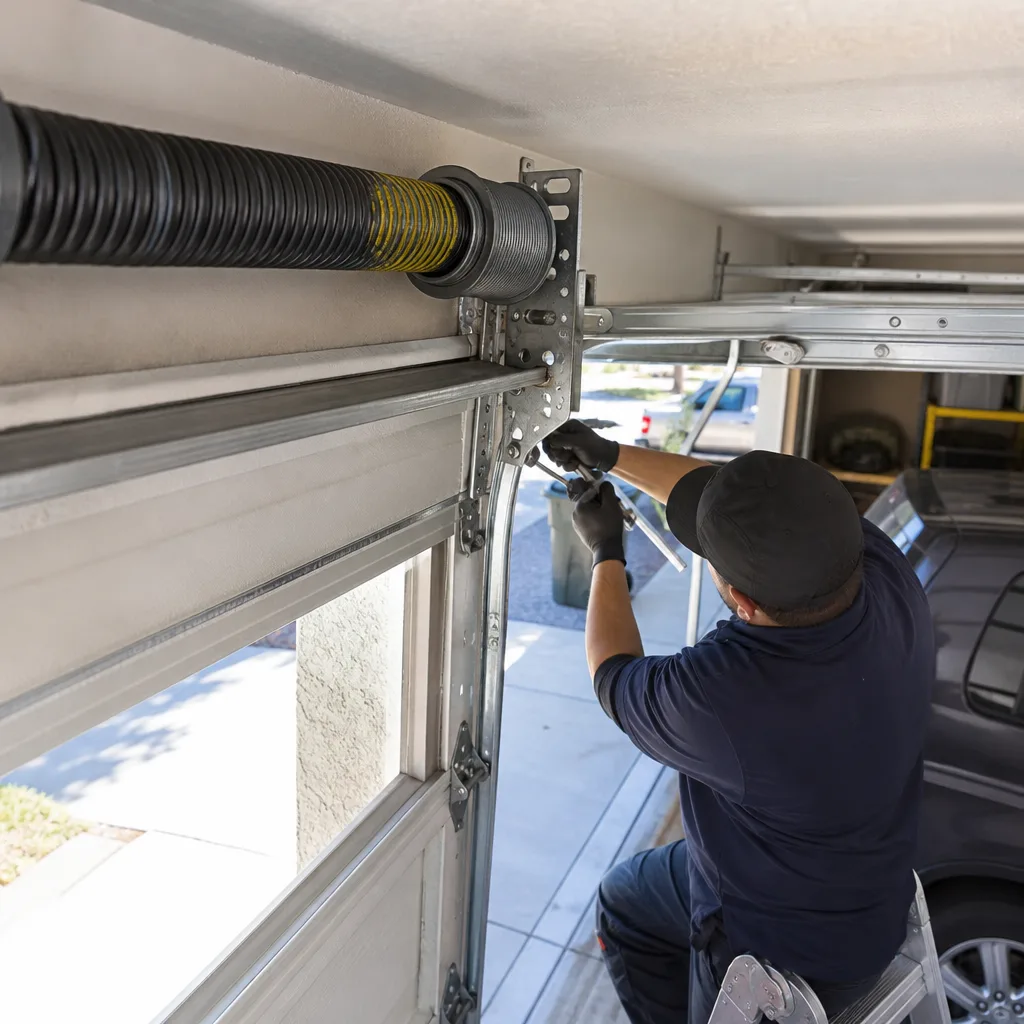 After