
Last updated October 30, 2026
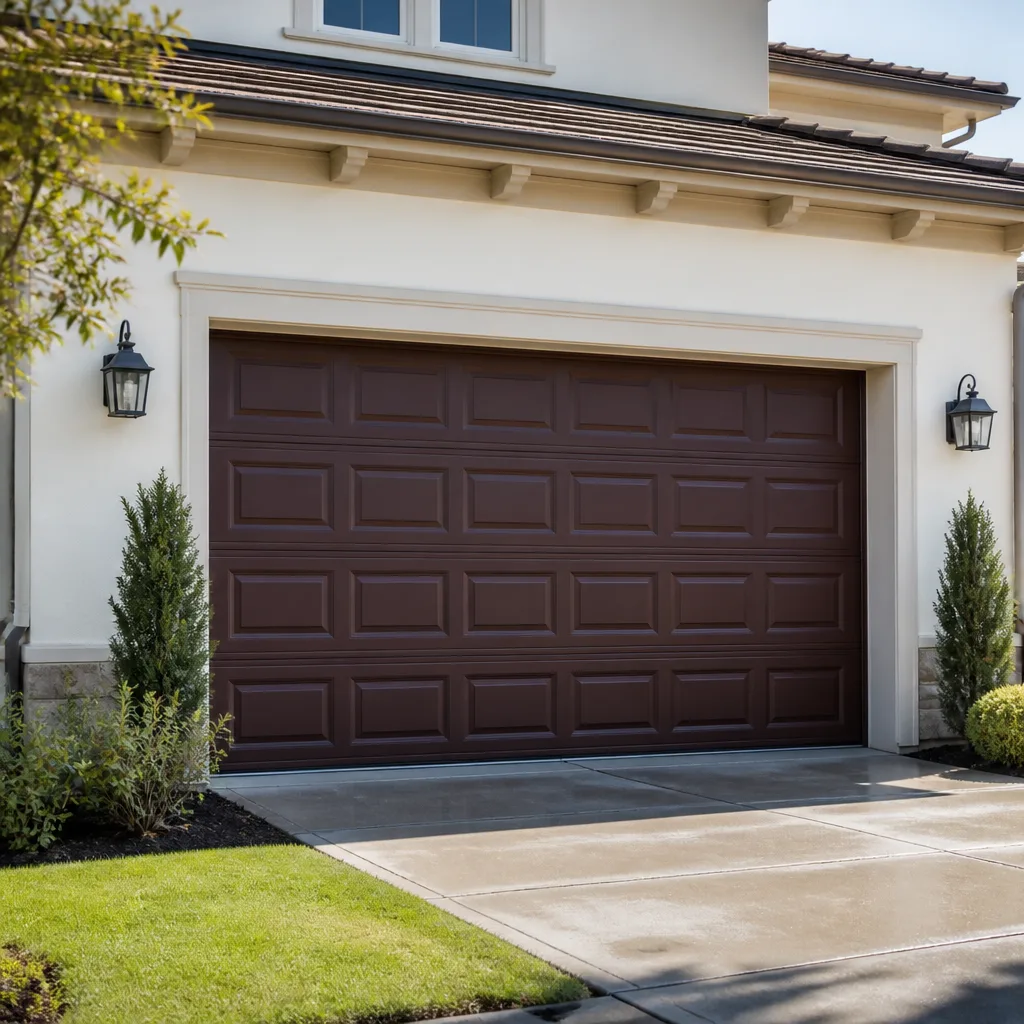 Raised-panel steel
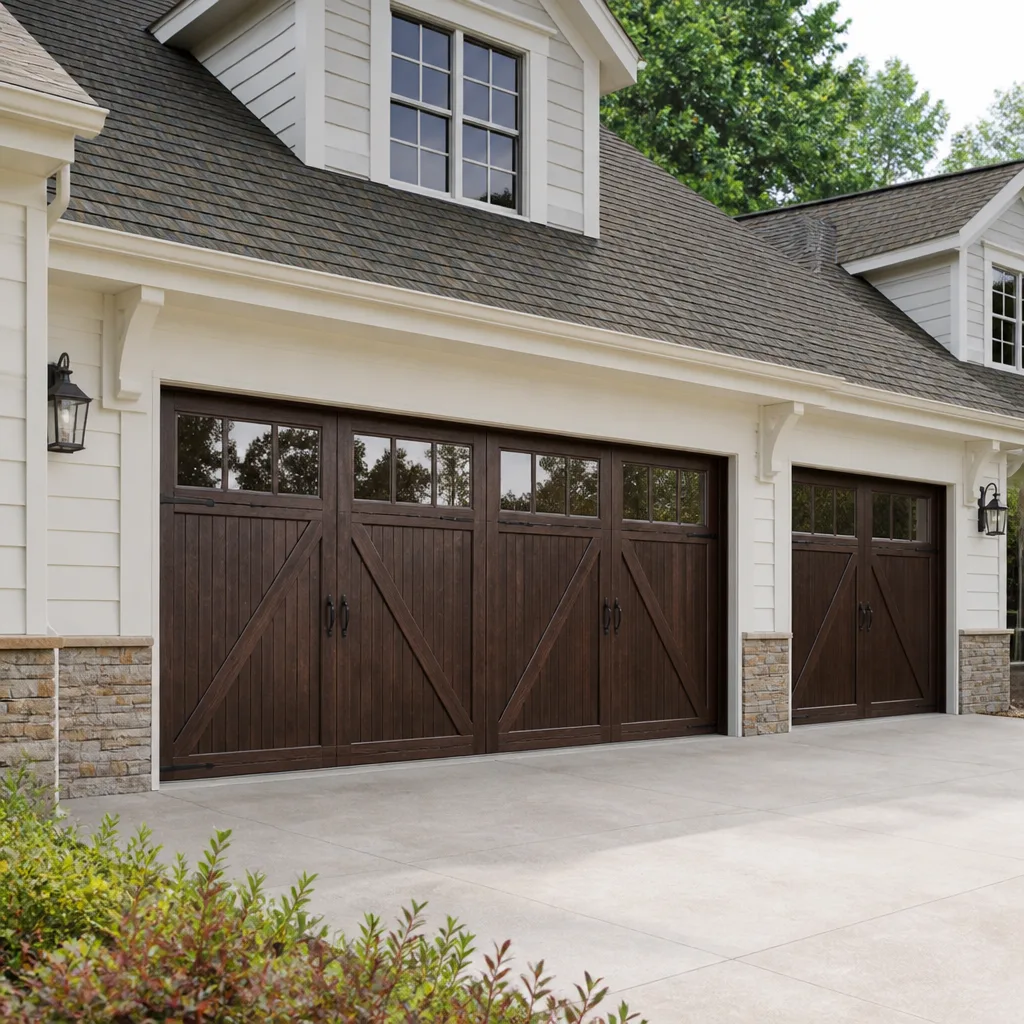 Carriage house
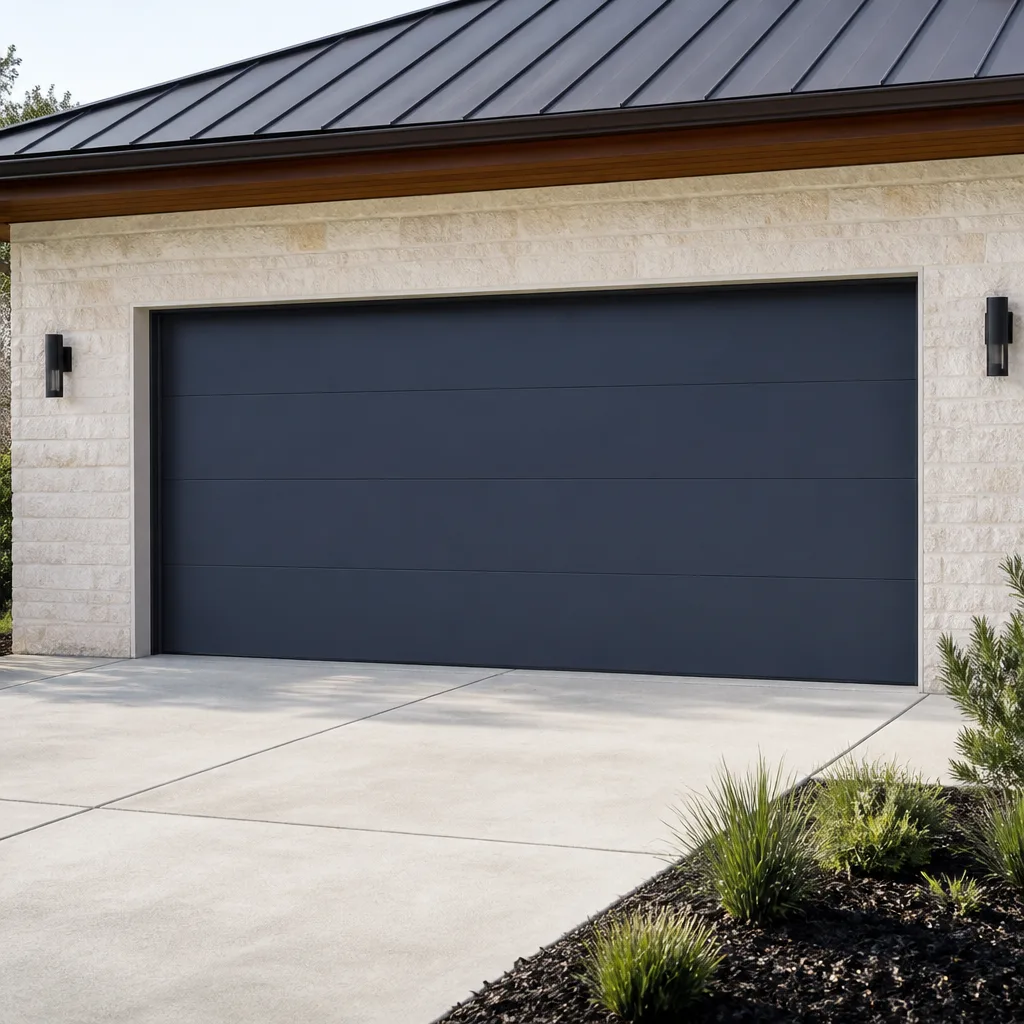 Modern flush
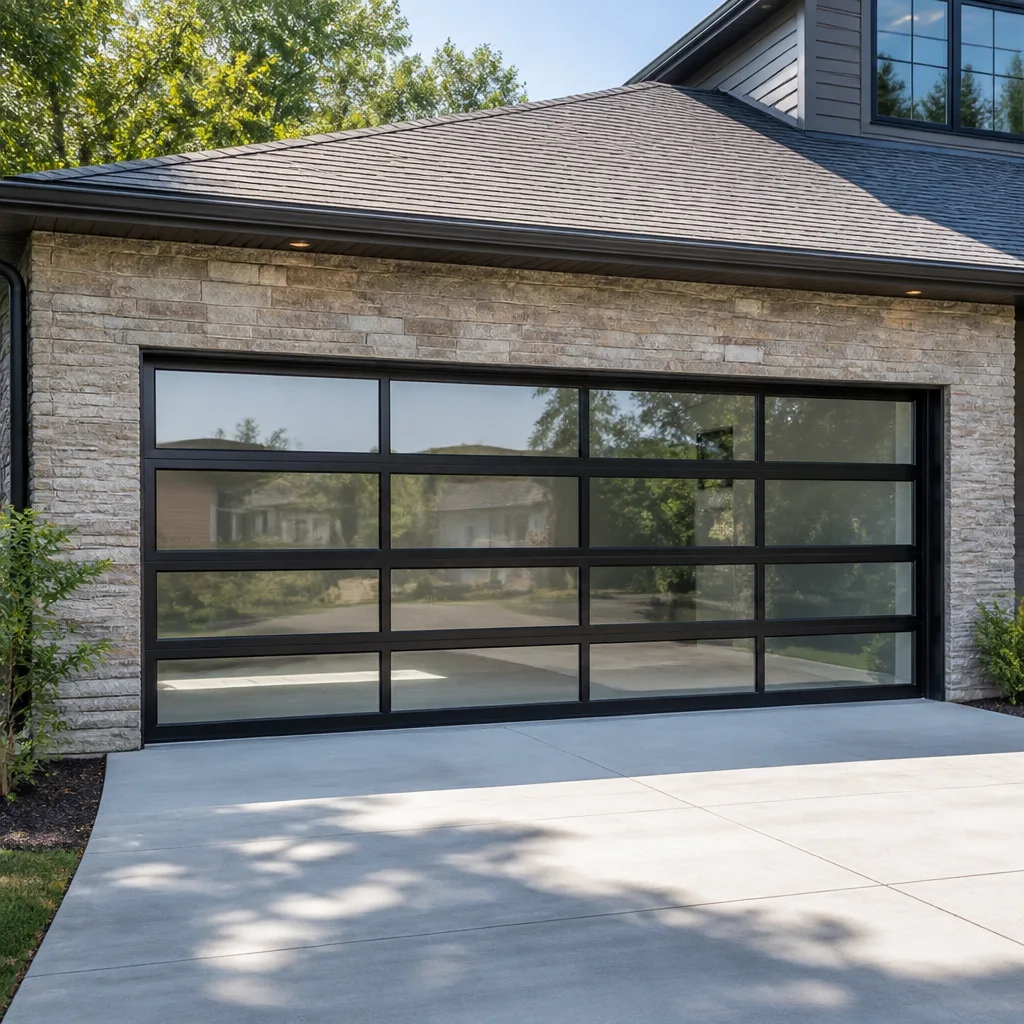 Full-view glass
 LiftMaster openers
 Chamberlain openers
Full 25-point door and opener safety check with every visit - springs, cables, rollers, tracks, and your LiftMaster or Chamberlain opener included
You get a price before we start. It does not change when the truck arrives.
Get your free estimateGarage Door Repair Troubleshooting: Common Problems and How to Fix Them
The most expensive mistake homeowners make isn’t ignoring a garage door problem, it’s misidentifying it. A door that “won’t open” can mean five completely different mechanical failures, each with a different cost, urgency, and repair path. We’ve seen San Bernardino homeowners spend hundreds on opener replacement when the real issue was a $15 sensor misalignment, and we’ve also seen the opposite: a frayed cable ignored until the door came down on a car. This guide maps specific symptom combinations to root causes so you can describe the problem accurately before anyone touches your door and avoid paying for parts you don’t need.
Quick Answer
Garage door troubleshooting starts with isolating the problem into one of three systems: the door hardware (springs, cables, rollers, tracks), the opener mechanism (motor, drive system, logic board), or the safety sensors. Most issues fall into predictable patterns; a door that reverses immediately usually points to sensors, a door that jerks or grinds usually points to hardware, and an opener that runs without moving the door usually points to the disconnect mechanism or a stripped gear. If the problem involves torsion springs or cables under tension, stop and call a professional for our Garage Door Repair services; those components cause serious injuries every year.
Styles & brands we work with
Table of Contents
- The Symptom Matrix: Matching What You See to What’s Wrong
- DIY-Safe Fixes vs. Problems That Require a Technician
- How to Isolate the Problem: Door, Opener, or Sensors
- When the Opener Runs But the Door Doesn’t Move
- When the Door Reverses or Refuses to Close
- Noise Diagnosis: Grinding, Squealing, and Rattling
- Fake Fixes: Temporary Solutions That Make Problems Worse
- What to Have Ready When You Call a Technician
The Symptom Matrix: Matching What You See to What’s Wrong
Most garage door problems announce themselves in consistent, recognizable ways. The key is pairing what you observe with what typically causes that observation. Here’s how we break it down in San Bernardino, where summer heat and the region’s occasional high winds create specific failure patterns we see repeatedly. Watch for Garage Door Warning Signs: A San Bernardino Homeowner’s Reference Guide to spot these early:
- Grinding or metal-on-metal scraping during travel: Most likely a worn roller bearing or a track that’s out of alignment. Second most likely: the opener’s drive gear stripping, especially on LiftMaster and Craftsman units over eight years old.
- Door sags on one side when open: Most likely a stretched or uneven cable. Second most likely: a spring that’s no longer providing balanced tension. Cables on one side carry more load when springs fatigue unevenly.
- Opener motor runs but door stays put: Most likely the emergency release cord was pulled or the trolley has disengaged from the carriage. Second most likely: the spindle or gear inside the opener has failed.
- Door reverses immediately after touching the floor: Most likely the close-force setting is too sensitive or the safety sensors are slightly misaligned. Second most likely: something is physically blocking the photo eye path.
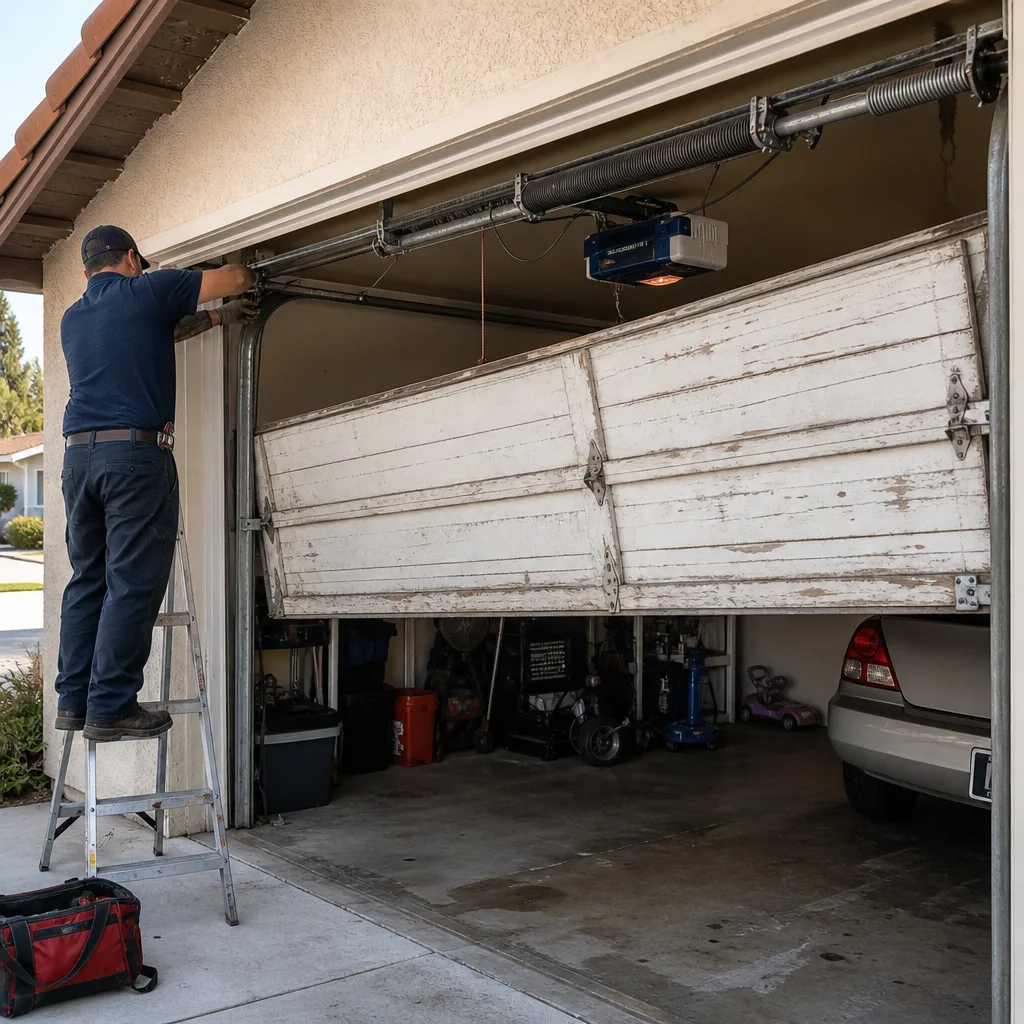
- Loud bang followed by a door that won’t lift: Almost always a torsion spring that has snapped. This is not a DIY project. Call a professional.
- Door jerks or shakes as it moves: Most likely uneven spring tension or a failing pulley. Second most likely: a bent track section, often from a bump or from wind pressure on a partially open door.
Having this framework in mind before you call means you’ll be able to describe the exact failure instead of just saying “it’s broken.” A technician who hears “grinding from the left side, only on the lower half of travel” can bring the right parts on the first trip.
DIY-Safe Fixes vs. Problems That Require a Technician
Some garage door repairs are genuinely safe to attempt with basic tools and no special training. Others carry serious risk of injury or property damage. The line between them is clear, and it matters.
Generally Safe to Do Yourself
- Tightening loose hardware: Hinges, brackets, and track bolts vibrate loose over time. A socket wrench and ten minutes solves most rattling.
- Cleaning and lubricating tracks and rollers: Use a silicone-based lubricant on rollers, hinges, and bearings. Avoid WD-40, which attracts dust and gums up over time.
- Realigning safety sensors: The small lights on the sensor units tell you if alignment is off. Adjust brackets until both lights are steady.
- Reprogramming a remote or keypad: Most LiftMaster, Chamberlain, Genie, and Craftsman units have straightforward reset procedures in the manual or printed on the motor housing.
- Replacing weatherstripping: The rubber strip along the bottom of the door wears out, especially with San Bernardino’s dry heat cracking rubber faster than coastal climates. Replacement strips cost under $20 and slide into the existing channel.
Never Attempt Yourself
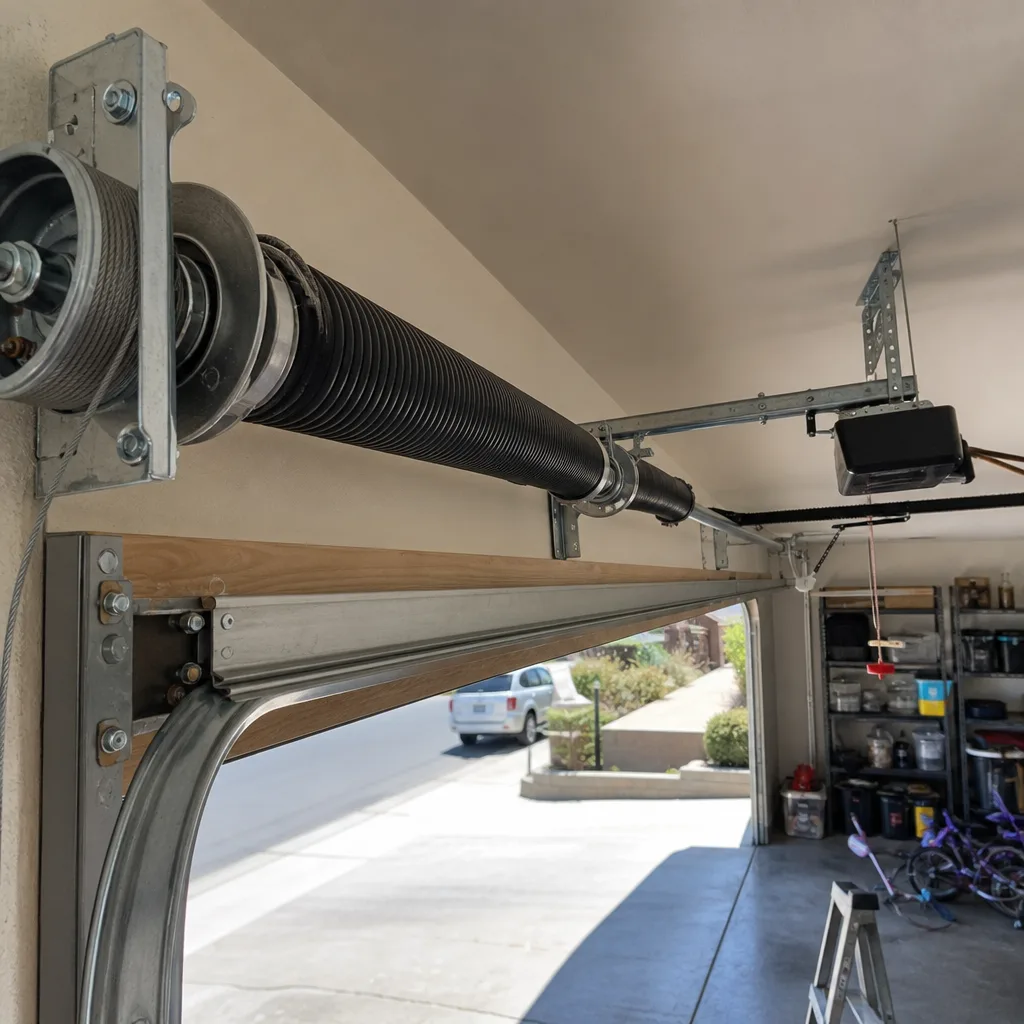
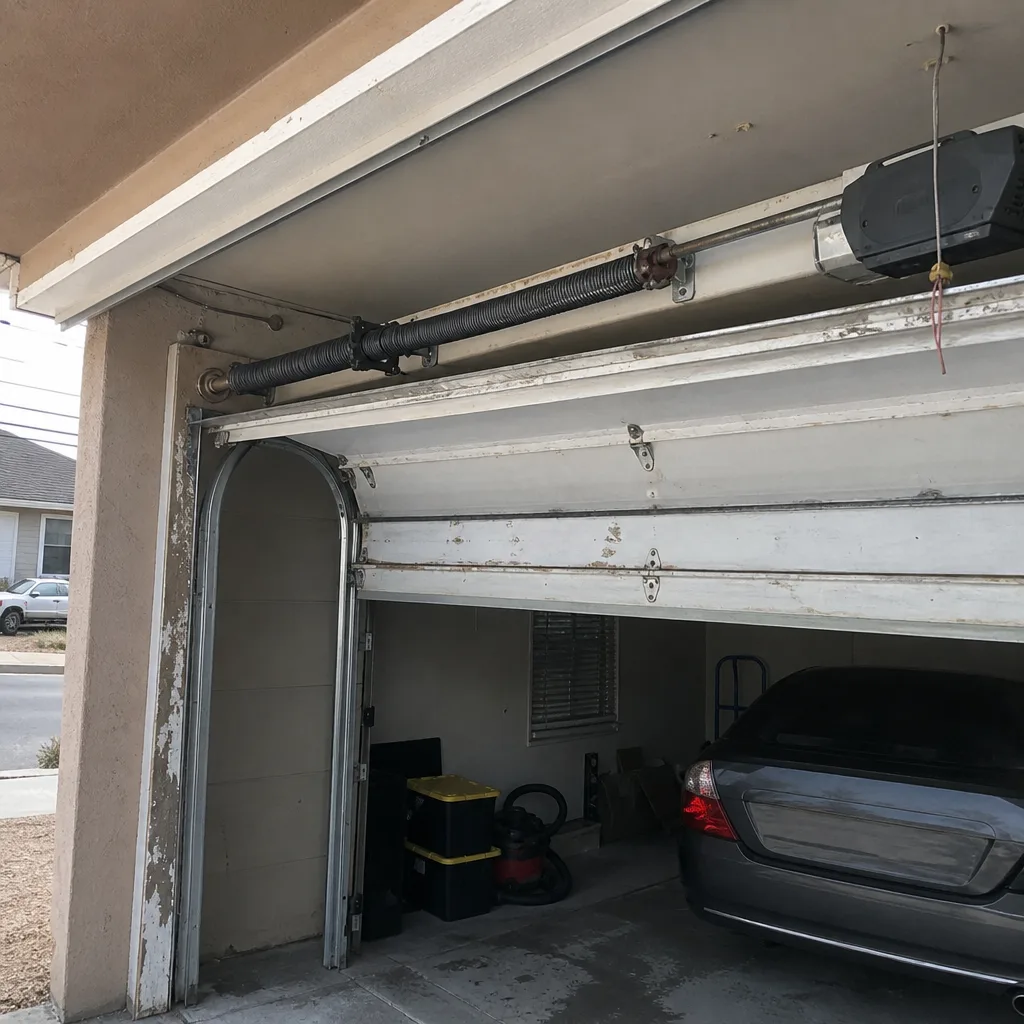
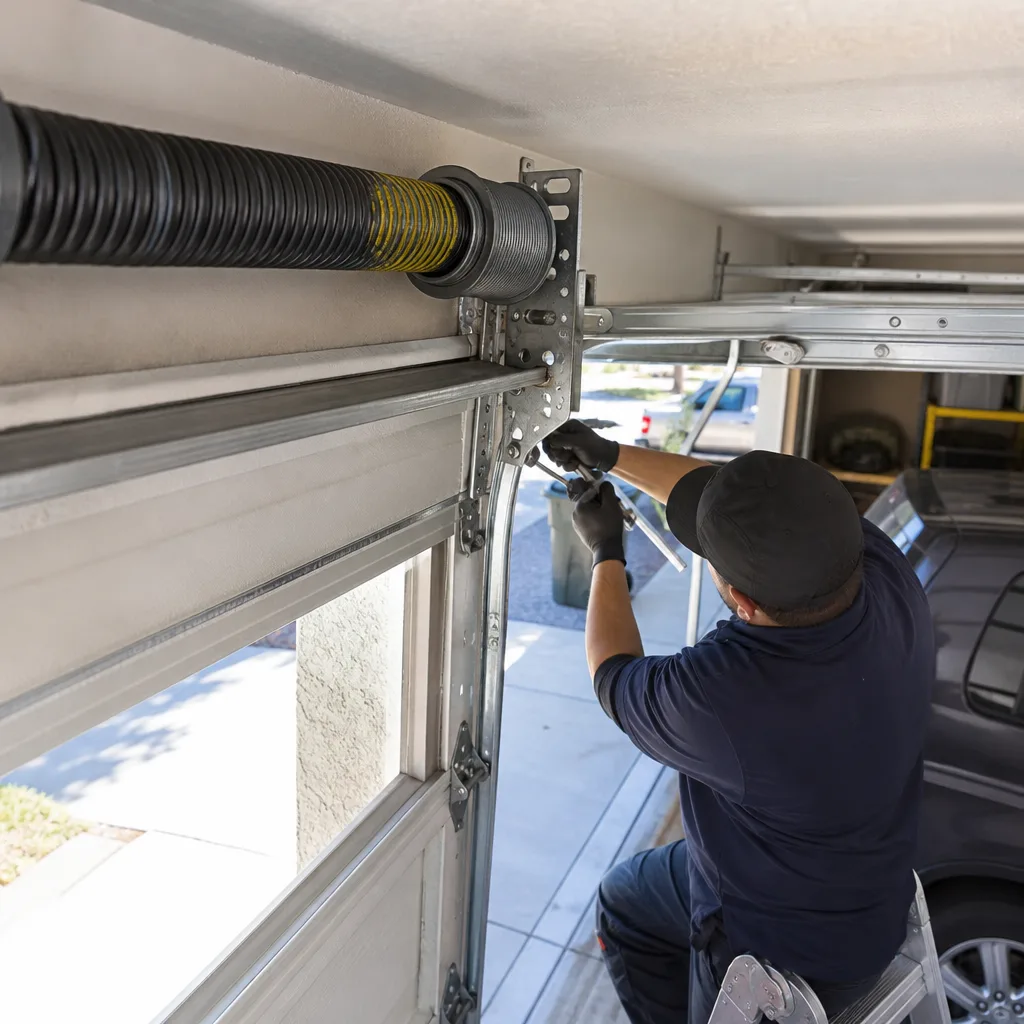
- Torsion spring replacement or adjustment: Torsion springs hold enough tension to sever fingers, break bones, or worse. They require winding bars, specific technique, and experience. Every year, homeowners are seriously injured attempting this repair.
- Cable replacement: The cables work with the springs under high tension. If a cable snaps while you’re working on it, the released tension can whip the cable across the garage.
- Track bending or replacement: A bent track on a heavy door puts uneven load on every component. Forcing a door back onto a misaligned track risks derailment and falls.
- Anything involving the spring anchor brackets: These brackets bolt to the wall or header and carry spring tension. Loose or corroded brackets need professional attention.
We work on Wayne Dalton, Craftsman, Raynor, and LiftMaster systems regularly in San Bernardino. Even two doors that look identical can have completely different spring systems and tension requirements based on door weight, material, and installation year.
How to Isolate the Problem: Door, Opener, or Sensors
Before you call anyone, run through this isolation sequence. It tells you which of the three systems is at fault and often reveals simple fixes that save a service call entirely.
- Pull the emergency release cord. This disconnects the opener from the door. The cord hangs from the trolley assembly above your car. Pull it, then try lifting the door by hand. If the door opens smoothly and stays open without assistance, the door hardware is healthy and the problem is in the opener or sensors. If the door is extremely heavy, won’t move, or falls when you release it, the problem is in the hardware, usually springs or cables.
- Test the door balance manually. With the opener still disconnected, lift the door halfway and let go. A properly balanced door stays put. If it drops, your springs are fatigued or broken. If it shoots upward, the springs are over-tensioned. Both conditions require spring adjustment or replacement.
- Check the sensor lights. Look at both photo eye units near the floor on either side of the door opening. Each has a small indicator light. On most brands including LiftMaster, Chamberlain, Genie, and Craftsman, one unit has a green light and one has an amber or red light. If either light is blinking, off, or dim, the sensors are misaligned, dirty, or have a wiring issue.
- Reconnect the opener and test the cycle. After reconnecting by pulling the release cord again toward the door until the trolley re-engages, run a full open-close cycle. Watch and listen for where the door hesitates, reverses, or makes noise. That specific point in the travel tells you which track section, roller, or hinge is the problem.
- Check the opener’s force settings. Most modern openers have adjustable force controls on the motor unit. If the door reverses near the floor, the close-force setting may be too sensitive. If it struggles near the top, the open-force may need adjustment. Make small changes and retest.
This five-step sequence takes under ten minutes and gives you specific information to relay. When someone calls us and says “I pulled the release and the door is heavy on one side,” we know we’re sending a technician with spring and cable tools, not an opener board.
When the Opener Runs But the Door Doesn’t Move
This is one of the more confusing failures because the motor works, which suggests the opener is fine. But the door stays still. There are four main causes, and they range from zero-cost to moderate repair.
The Emergency Release Was Pulled
The most common cause is also the simplest. Someone pulled the red cord hanging from the trolley, intentionally or accidentally. When the release is disengaged, the opener motor runs and the trolley travels back and forth, but the door stays where it is. To fix: with the door fully closed, pull the release cord toward the door until you hear or feel the trolley re-engage with the carriage. Run one cycle. Most openers will reconnect automatically when the trolley reaches the carriage position.
The Spindle or Gear Has Stripped
On chain-drive and screw-drive openers older than about eight years, the spindle gear or worm gear inside the unit can strip. The motor runs, but the gear teeth no longer transfer motion to the drive. This is especially common on LiftMaster and Craftsman units from the mid-2010s. A grinding sound often precedes a full strip. The opener will need a gear kit or replacement. We diagnose this frequently in San Bernardino garages, particularly on openers that see four or more cycles per day for years.
The Drive Belt or Chain Has Broken or Slipped Off
Belt-drive openers use a reinforced rubber belt; chain-drive units use a metal chain. If either breaks or jumps off the sprocket, the motor spins but the trolley doesn’t move. Inspect the rail above the motor. If the belt or chain is loose, hanging, or off-track, that’s your answer. A broken belt on a LiftMaster or Genie unit is a straightforward replacement part.
The Carriage or Trolley Is Worn or Damaged
The trolley connects the drive mechanism to the door arm. On older Wayne Dalton and some Chamberlain systems, the trolley’s internal teeth wear smooth over years of use. The motor runs and the drive spins, but the trolley won’t hold. Replacement involves swapping the trolley assembly, which is a moderate repair.
If your opener runs but the door won’t move, try the isolation steps above before calling. If the door opens fine by hand, the problem is in the opener or trolley, not the door itself. Our Garage Door Opener Repair in San Bernardino service covers these exact failures, from stripped gears to broken belts.
When the Door Reverses or Refuses to Close
A door that reverses right after hitting the floor, or refuses to close at all, triggers immediate frustration. In most cases, it’s a safety mechanism doing its job, not a mechanical failure. But “safety mechanism” is cold comfort when your car is stuck inside.
Sensor Misalignment
The photo eye sensors sit on either side of the door, about six inches off the floor. They project an invisible infrared beam across the opening. If that beam is interrupted, misaligned, or blocked, the opener refuses to close or reverses immediately. Check both sensor units. The indicator lights should be steady. If one blinks, the sensors are out of alignment. Loosen the bracket screws, adjust the unit until the light steadies, and retighten.
Dirty or Obstructed Lenses
San Bernardino’s dust and wind-blown debris coat sensor lenses surprisingly fast. Wipe both lenses with a clean, dry cloth. Even a small layer of dust diffuses the beam enough to register as an obstruction. Cobwebs across the lens cause the same effect.
Close-Force Setting Too Sensitive
Openers have a pressure sensitivity setting that tells the motor to reverse if it encounters resistance while closing. If this setting is too sensitive, the opener interprets the door’s own weight as an obstruction and reverses. Locate the force adjustment on the motor unit and increase the close-force slightly. Re-test. If the door closes most of the way and then reverses only near the floor, the close-force needs a small increase.
Something Is Physically in the Door Path
Check the track for debris, a bent section, or a loose bolt that’s catching the rollers. Run your hand along the track and feel for roughness or obstruction. Also check the bottom of the door for a build-up of dirt or small rocks that changes how the door meets the floor. In San Bernardino, especially near the foothills, wind-driven sand accumulates in tracks more than homeowners expect.
If none of these resolve the issue, you may have a door balance problem that’s misleading the opener’s safety logic. The opener expects to move a certain weight; if springs are tired, the door feels heavier and the opener reverses as a protective response. That scenario points to a spring issue, not an opener issue, and is best diagnosed by someone who works on both systems daily.
Noise Diagnosis: Grinding, Squealing, and Rattling
Garage doors are large moving objects with dozens of parts. They make noise. The question is: which noise is normal, and which noise means something is failing?
High-Pitched Squealing or Screeching
A squeal during travel almost always points to metal-on-metal contact without lubrication. The usual culprits: roller bearings, hinge pins, or the torsion spring. Roller bearings wear out, especially nylon rollers on doors that get heavy use. Apply silicone lubricant to hinges and bearings first. If the squeal persists, you have a failing bearing that needs replacement. Ignoring it means the bearing eventually seizes, which causes the roller to slide instead of roll and wears a flat spot that damages the track.
Rattling or Loose-Sounding Vibration
Rattling is usually loose hardware. The bolts that hold hinges to door sections, brackets to the wall, or the opener rail to the ceiling all vibrate loose over months and years. Walk the door with a socket wrench and tighten everything that’s accessible. Pay special attention to the brackets where the opener attaches to the ceiling and where the door arm meets the door. On stamped-steel doors, check the strut brackets too.
Loud Grinding from the Opener
Grinding from the motor unit on a LiftMaster, Chamberlain, or Craftsman opener is a stripped gear in progress. The plastic and metal gears inside the opener wear down, especially when the door is heavy from tired springs. A heavy door makes the opener work harder, accelerating gear wear. This is a failure chain: worn springs add load, added load strips the opener gear. Fixing only the gear without addressing the springs means the new gear fails sooner. We see this pattern regularly in San Bernardino garages where the original springs are ten or fifteen years old.
Bang or Pop When the Door Starts Moving
A bang at the start of travel often comes from a spring that’s binding or a section hinge that’s beginning to fail. If the bang happens only when the door starts moving from fully open or fully closed, inspect the hinges connecting the top and bottom sections to the middle sections. A broken hinge allows the sections to shift slightly and then slam as motion begins. Hinge replacement is a straightforward hardware fix.
Rumbling or Gravelly Sound During Travel
This often points to track issues. A track with accumulated dirt, sand, or greasy build-up makes the rollers sound like they’re traveling over gravel. Clean the tracks with a dry cloth. If the sound persists, inspect for flat spots on the rollers or a bent track section. Raynor and Wayne Dalton steel-track systems can develop a lip or burr from years of wear that grinds against the roller.
Fake Fixes: Temporary Solutions That Make Problems Worse
YouTube is full of garage door repair videos. Some are useful. A significant number show temporary workarounds that mask symptoms while the underlying failure gets worse and more expensive. For reliable information, see more guides & resources from our team. Here are the ones we most frequently undo in San Bernardino garages:
- Prying a door back onto a bent track with a crowbar. This reshapes the track temporarily, but metal that bent once bends again. The underlying issue is usually uneven load from a spring or cable problem. Forcing the track straight transfers that load elsewhere.
- Using WD-40 on everything. WD-40 is a penetrating oil, not a long-term lubricant. It dissolves the existing grease and then dries, leaving metal surfaces unprotected. Use silicone-based garage door lubricant instead.
- Tightening the torsion spring “just a little” to compensate for a heavy door. This is dangerously wrong. Spring adjustment requires winding bars, the correct number of quarter-turns, and knowledge of the door’s weight. Over-tightening a spring to compensate for tired springs shortens the remaining lifespan and increases the risk of a snap while someone is nearby.
- Switching to manual operation and leaving the opener disconnected. This “solves” the problem by abandoning the opener. But a door that’s operated manually still uses the same springs and cables. If the door was heavy under opener power, it’s heavy by hand too. You’re putting more strain on your back and the hardware while the real issue continues to deteriorate.
- Bypassing the safety sensors by wiring them together. Some videos show how to connect the two sensor wires directly at the opener motor to “fix” a reversing door. This disables a federally mandated safety feature. If something is under the door, the opener won’t stop. This is a serious safety violation, and it’s also the first thing any competent technician will reverse when they find it.
- Replacing the opener when the springs are the problem. When a door won’t open, the opener is blamed by default. But if the springs are broken or tired, the door is too heavy for any opener to lift properly. A new opener installed on a door with bad springs will burn out quickly. At San Bernardino Garage Door Co home, we check spring condition before recommending an opener replacement precisely because this is such a common misdiagnosis.
What to Have Ready When You Call a Technician
A phone call is the fastest way to get a useful diagnosis. The more specific you are, the more accurate the estimate and the more likely the technician arrives with the right parts on the first trip. Here’s what we ask when you call, and what you should have ready:
- Brand and approximate age of the opener. Look at the motor unit. The brand is printed on the front or side; LiftMaster, Chamberlain, Genie, and Craftsman all label their units clearly. The model number is also on the unit, usually on a sticker. If you can read it, great; if not, the brand and a rough idea of how old the system is helps.
- Door material and size. Is it a single-wide or double-wide door? Wood, steel, or fiberglass? This matters because spring requirements and replacement part costs vary significantly by door weight and size.
- The exact symptom. Use the symptom matrix above. “The door grinds on the left side when it starts moving down from fully open” tells us much more than “it’s making noise.”
- What you’ve already tried. If you tightened bolts, lubricated rollers, or adjusted the sensors, say so. This eliminates possibilities and speeds diagnosis. No one should feel embarrassed about trying a fix first; we’d rather know than not.
- Whether the door opens by hand when you pull the release cord. This one piece of information cuts the diagnostic space in half. If the door opens easily by hand, the hardware is probably fine. If it’s heavy or won’t move, the problem is springs or cables.
- Any recent changes or impacts. Did a car bump the door? Did you store something new near the tracks? Was there a recent windstorm? In San Bernardino, high wind events are a common cause of track misalignment and cable problems.
Having this information ready makes the call shorter and the estimate more accurate. Our Garage Door Repair in San Bernardino service is built around the brand you already have installed, not what we’d prefer to sell you.
Common Mistakes to Avoid
- Ignoring a gradually slowing door. A door that’s getting slower every month isn’t “getting old”; it’s telling you the springs are losing tension. Replace springs before they snap, not after.
- Replacing only one spring on a two-spring system. Torsion springs are installed in pairs and wear in pairs. Replacing one while leaving the other means mismatched tension and another failure soon. Any professional will recommend replacing both.
- Using the wrong lubricant. Household oil, engine oil, and penetrating sprays like WD-40 attract dust and accelerate wear. Use silicone-based garage door lubricant or white lithium grease on hinges and bearings only.
- Operating the door with a visibly frayed or rusted cable. A cable showing individual broken strands will snap eventually. The question isn’t if, it’s when and whether anything is under the door when it happens.
- Assuming the opener is the problem. More than half the “opener failures” we diagnose in San Bernardino are actually door hardware problems, most commonly springs, that overload the opener. The opener is the victim, not the cause.
- Putting off a repair because the door “still works.” Every wasted cycle adds wear to every component in the chain. A $40 hinge replacement addressed early prevents a $500 track and roller replacement later.
See the difference
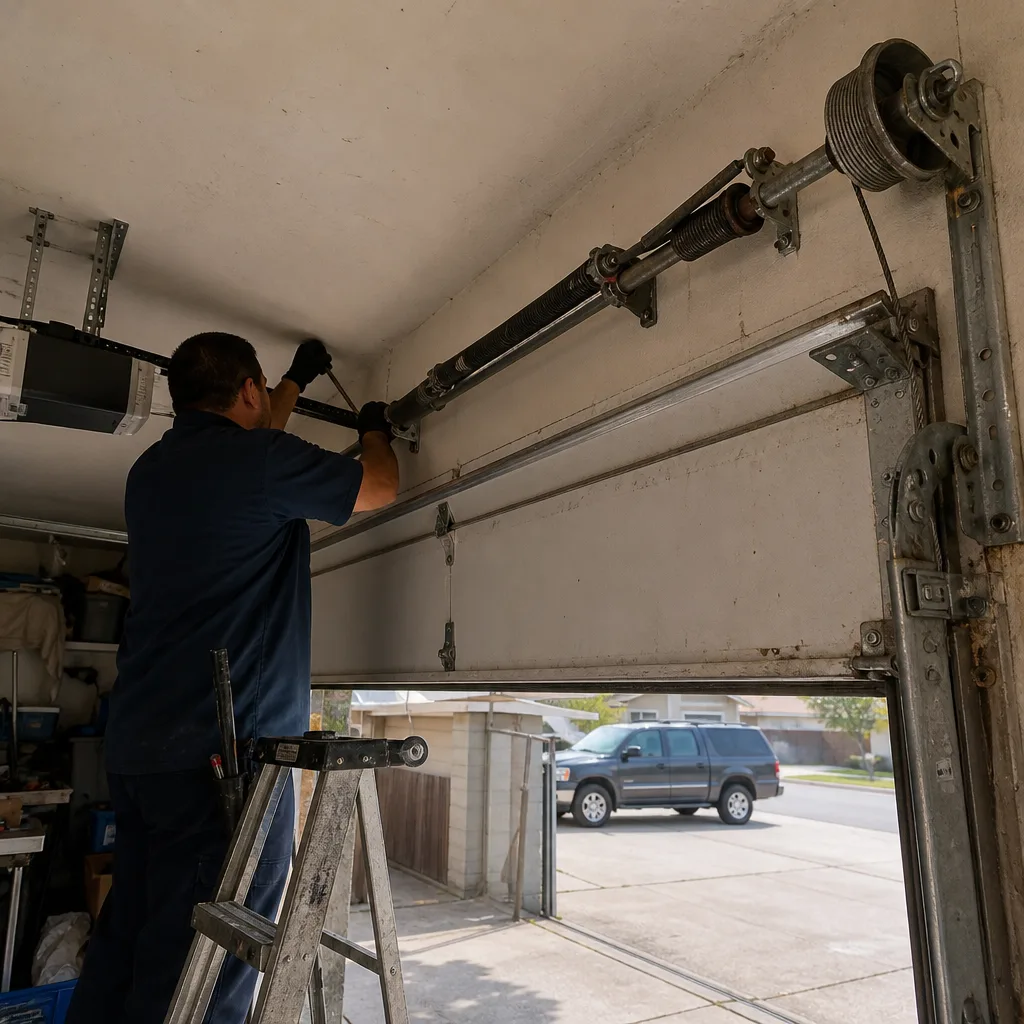 Before
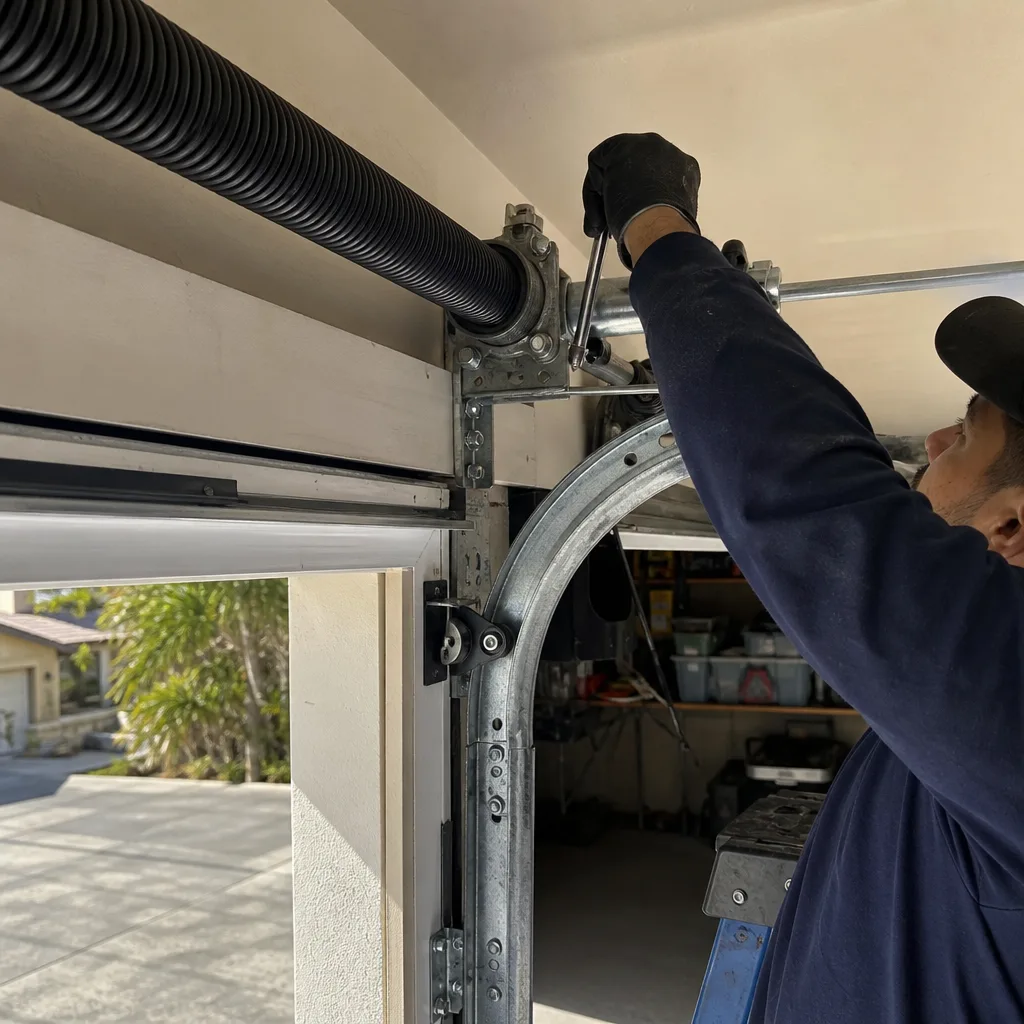 After
 Before
 After
 Before
 After
When to Call a Professional
Call a professional when the problem involves any component under tension: torsion springs, extension springs, cables, or the brackets that anchor them. Call when the door is heavy to lift by hand, when it falls if released halfway, or when the opener runs but the door doesn’t move after you’ve checked the release cord. Call when you hear grinding from the opener, when the door reverses despite sensor checks, or when any visible part is bent, cracked, or clearly broken. If you’re in San Bernardino, Garage Door Installation in San Bernardino and repair services are available with free estimates. San Bernardino Garage Door Co offers free phone consultations and estimates; call (855) 763-8905 and have the information from the call-prep section ready.
Frequently Asked Questions
Most diagnostic visits in San Bernardino are free or credited toward the repair cost if you proceed. The actual repair cost depends entirely on what the diagnosis finds: sensor realignment might be a service-call minimum, while spring replacement runs higher. We quote the full price before any work begins, and that price doesn’t change once the technician sees the door; you approve it first. Call (855) 763-8905 for a free estimate.
Spring replacement is the most common repair we perform in San Bernardino, followed by opener drive system failures and sensor misalignment. The region’s temperature swings and the daily use cycles most garage doors see mean springs reach the end of their lifespan reliably every seven to ten years.
In most cases, yes. We carry common springs, cables, rollers, hinges, and opener parts on our trucks, so a single visit resolves most repairs. For less common parts or brand-specific components on Wayne Dalton or Raynor systems, we may need to order a part, but we’ll tell you that during the initial call, not after arriving.
Noise itself isn’t dangerous, but the causes often are. A squealing bearing left too long seizes and damages a track. A rattling bolt eventually falls out and lets the door shift. A grinding opener gear is about to fail. Noise is the early warning; treating it early prevents the dangerous failure.
We work on LiftMaster, Chamberlain, Genie, Craftsman, Wayne Dalton, Raynor, and more. Garage doors are all we do, and we’re set up to service the brand you already have rather than steering you toward a replacement you don’t need. Our techs are trained on eight of the most widely installed garage door and opener brands in North America.
Pull the emergency release cord hanging from the opener rail. This disconnects the opener so you can lift the door by hand. If the door is too heavy to lift, the springs have failed and you’ll need a professional. If it opens easily by hand, the problem is in the opener or sensors. Either way, call (855) 763-8905 after you’ve got your car out, and we’ll walk through the diagnosis on the phone.
The Bottom Line
Most garage door problems are diagnosable before anyone shows up. Pull the release and test the door by hand; that single step isolates hardware from opener from sensors. Note the exact noise, the exact point in the travel where the door hesitates, and what you’ve already tried. Then call someone who works on doors exclusively, not a generalist who splits their time across a dozen trades. San Bernardino Garage Door Co is built around one trade, with eight-brand fluency across LiftMaster, Chamberlain, Genie, Clopay, Amarr, Wayne Dalton, Craftsman, and Raynor systems. When you call, you get a specialist who recognizes what’s in your garage and fixes it without guessing.
Written by the team at San Bernardino Garage Door Co, serving San Bernardino since 2016.