
Last updated October 30, 2026
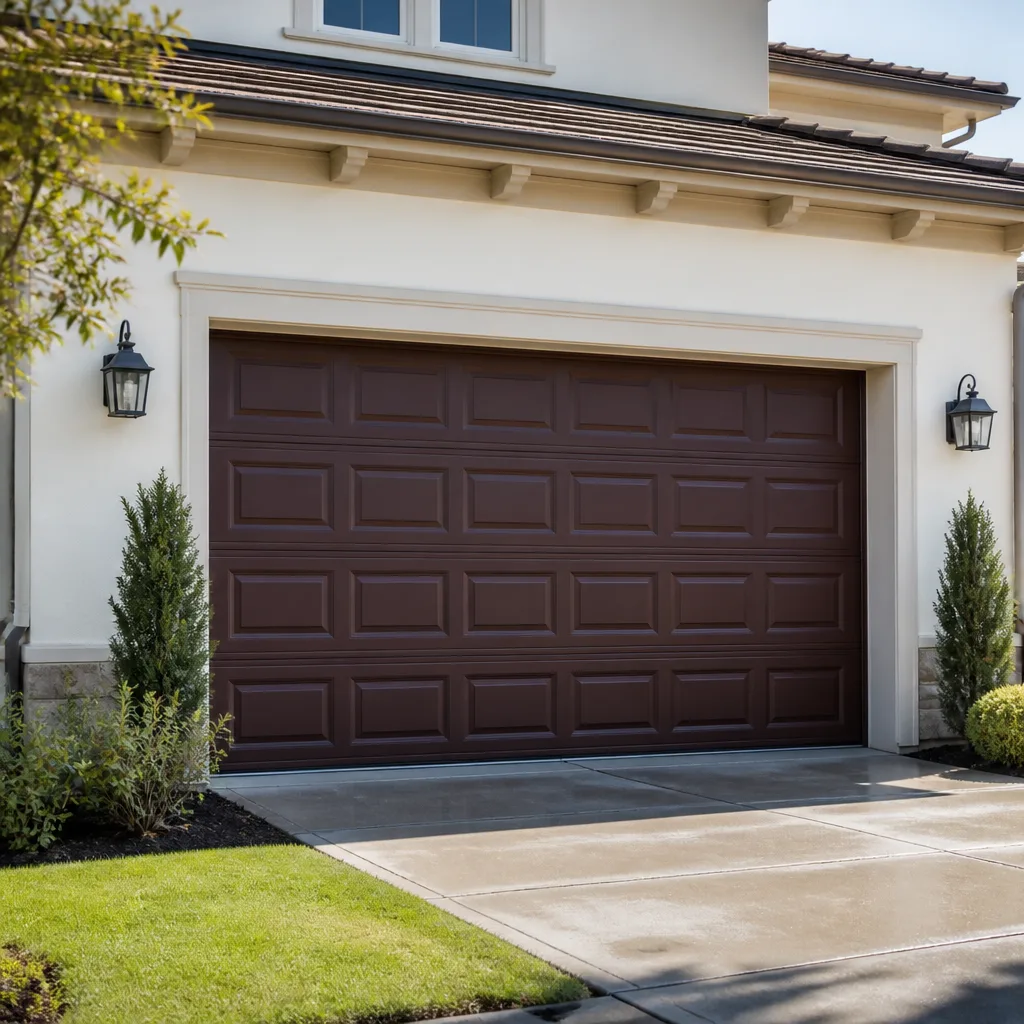 Raised-panel steel
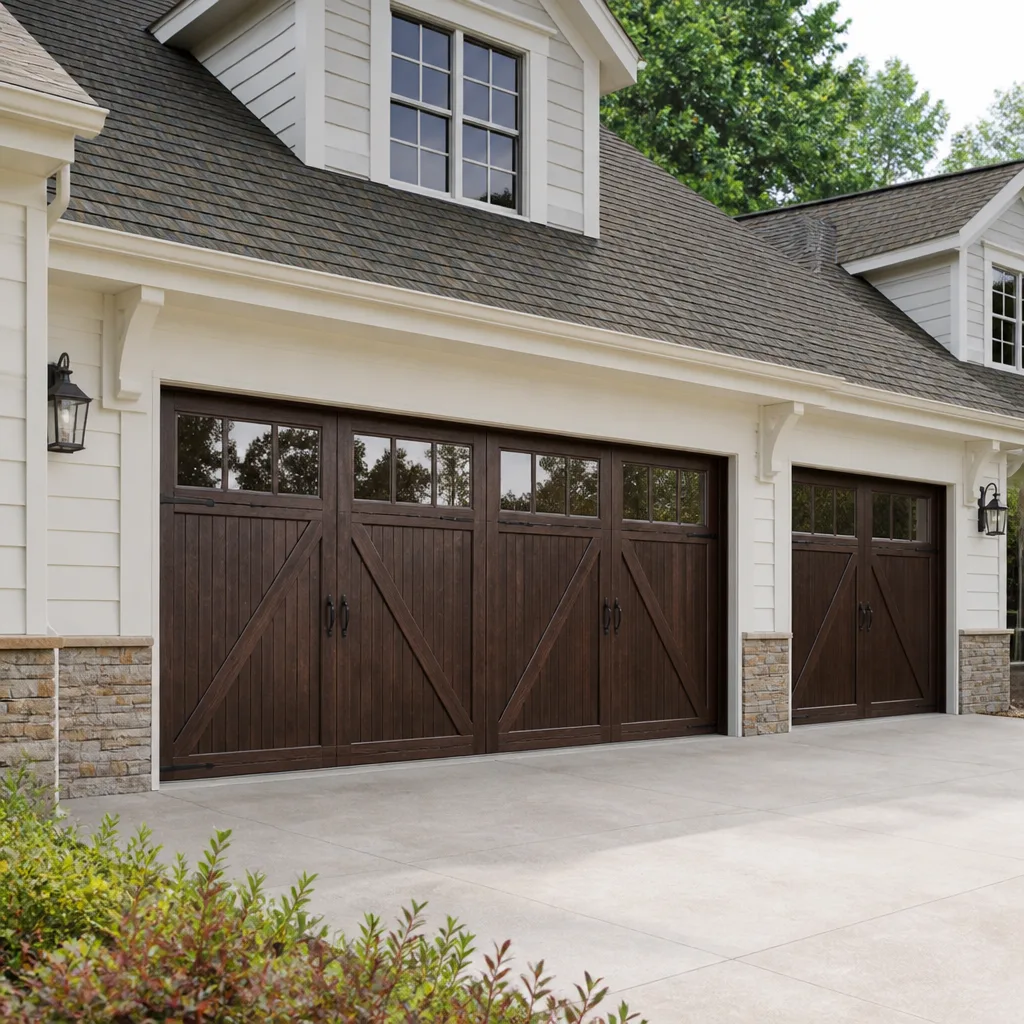 Carriage house
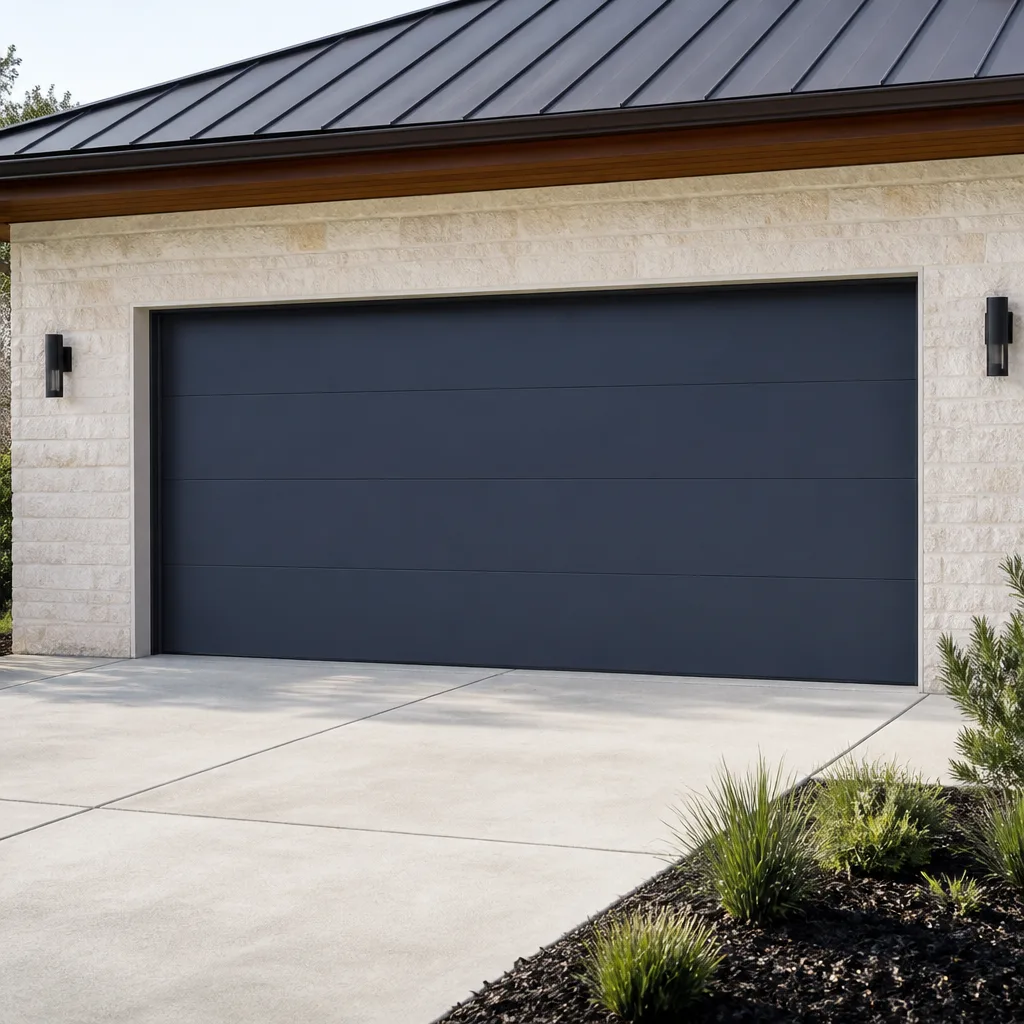 Modern flush
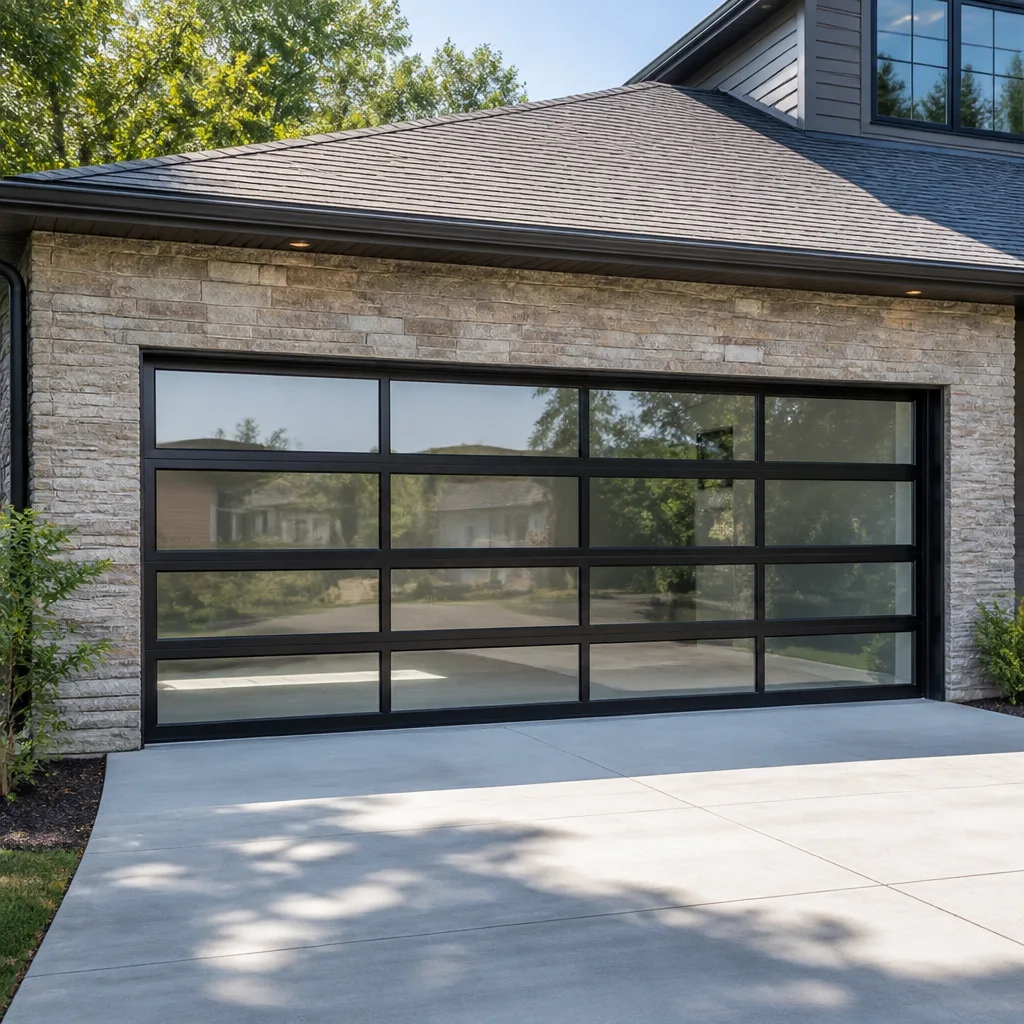 Full-view glass
 LiftMaster openers
 Chamberlain openers
Full 25-point door and opener safety check with every visit - springs, cables, rollers, tracks, and your LiftMaster or Chamberlain opener included
You get a price before we start. It does not change when the truck arrives.
Get your free estimateDIY vs Professional Garage Door: The San Bernardino Homeowner’s Decision Guide
Every year, somewhere in San Bernardino, a homeowner ends up in an emergency room after deciding to replace a torsion spring with a pry bar and a YouTube tutorial. The counterintuitive part is that the person usually knows their way around a socket set. The problem is that garage doors don’t fail on a spectrum of difficulty alone. They fail on a spectrum of two things: difficulty and consequence. A weatherstrip replacement is easy and harmless. A spring replacement looks easy if you’ve never seen what a spring does when it lets go. This guide draws that line at the component level, so you know which jobs are genuinely yours and which ones belong to a professional who works on garage doors exclusively every single day. For Garage Door Emergency Preparedness Guide for San Bernardino Homes and more, see our blog.
Styles & brands we work with
Quick Answer
Safe DIY garage door work in San Bernardino includes weatherstrip replacement, bottom seal swaps, roller lubrication, sensor realignment, and remote reprogramming. Torsion spring replacement, cable work, and track realignment under tension should always go to a trained professional because the failure mode is severe injury, not just a botched repair. The decision is not about your skill level. It’s about whether the component you’re touching stores enough energy to hurt you if it fails.
Table of Contents
- The Real Question: What Fails Catastrophically
- The Safe DIY List: Five Jobs You Should Do Yourself
- The Do-Not-DIY List: Three Jobs With No Margin for Error
- The Middle Zone: Jobs for the Mechanically Confident
- How San Bernardino Heat Changes the DIY Math
- You Already Tried It: What to Tell Your Technician
- Common Mistakes to Avoid
- When to Call a Professional
- Frequently Asked Questions
- The Bottom Line
The Real Question: What Fails Catastrophically
Most garage door repair advice online treats every task as if it lives on the same difficulty ladder. That’s wrong. The ladder that matters is consequence. A task can be trivially easy and still dangerous if the consequence of getting it wrong is a 200-pound door crashing down or a spring unloading its stored torque into your hands, face, or chest. Conversely, a task can look intimidating and be completely safe because the worst outcome is a drafty garage or a squeaky door.
Here’s the breakdown at the component level. A torsion spring on a standard residential door in San Bernardino County stores enough energy to counterbalance roughly 130 to 250 pounds of door weight, depending on the door’s construction and whether it’s a Clopay steel-panel door or an Amarr carriage-house design. When that spring is wound to the correct torque, it’s holding between 7 and 10 full turns on a typical residential setup. If the winding bar slips, the spring doesn’t slowly unwind. It releases everything at once. The bars become projectiles. Fingers caught in a cone become severed. The door, now unbalanced, becomes a falling mass. None of that is a scare tactic. It’s the physical reality of how the system works.
By contrast, a bottom seal replacement involves pulling out a rubber extrusion and pushing a new one in. The door is open, resting at the top of its travel, with zero tension on the seals. If you mess it up, your garage gets a little dustier. You redo it. That’s the whole consequence profile.
The line, then, is not between “hard” and “easy.” It’s between jobs where failure means redoing the work and jobs where failure means a trip to the hospital. Once you think about your garage door in those terms, the DIY decision becomes straightforward. Our team at San Bernardino Garage Door Co works on Clopay, Amarr, Chamberlain, and Genie systems throughout San Bernardino, and the question we hear most isn’t “can I do this?” It’s “should I be doing this?” That’s the right question to ask. Learn more about the full scope of what we handle on our Garage Door Repair in San Bernardino page.
The Safe DIY List: Five Jobs You Should Do Yourself
There is a real, legitimate category of garage door maintenance that belongs to the homeowner. These five jobs share three traits: no stored energy, no risk of the door falling, and a clear visual indicator of success or failure. Doing them yourself saves money and keeps you familiar with your door’s condition. That familiarity is genuinely valuable because it means you’ll notice when something more serious is going wrong.
1. Weatherstrip Replacement (Sides and Top)
The vinyl weatherstripping along the jambs and header of your garage door degrades in San Bernardino’s sun. UV radiation makes it brittle, and once it cracks, you’re letting dust, heat, and the occasional scorpion into your garage. Replacement is straightforward: remove the old strip, which is usually held in place with nails or staples, cut the new strip to length, and fasten it in place. The door itself never moves. No springs are touched. This job takes 30 minutes and requires a utility knife, a hammer, and a tape measure.
2. Bottom Seal Swap
The rubber bottom seal, sometimes called an astragal, slides into a T-shaped channel at the bottom of your door panel. Over two or three San Bernardino summers, it hardens, flattens, and starts letting daylight through. To replace it, raise the door to chest height (use the opener, don’t do this manually), pull the old seal out by grabbing one end, and slide the new one in. Some seals benefit from a little dish soap on the T-channel for lubrication. This is a $15 to $30 part and a 20-minute job. If the door is a Genie opener system, the door itself is independent of the opener mechanics, so nothing in the opener is affected by this work.
3. Roller Lubrication
Steel rollers running on steel tracks need lubrication roughly once a year in San Bernardino’s dry climate. Use a white lithium grease or a dedicated garage door lubricant, never WD-40, which is a cleaner and will strip the existing lubrication. Apply to the roller bearings, the hinges, and the spring coils. This is preventive maintenance, not repair, and it’s about as safe as garage door work gets. You’ll know you’ve done it right when the door’s operation quiets down noticeably.
4. Sensor Alignment
Photo-eye sensors sit near the floor on both sides of the door opening. When they get bumped by a rake, a trash can, or a child’s bike, they slip out of alignment and the door refuses to close. This is the most common “my garage door won’t close” problem, and it’s almost always a two-minute fix. Loosen the wing nut holding the sensor bracket, adjust until the small LED light on each sensor glows steady, and retighten. If the light blinks, it’s still misaligned or the lens is dirty. This is a safe DIY job because the sensors are low-voltage and the door is safely open while you work.
5. Remote Reprogramming
If your remote stopped working and you’ve already replaced the battery, the issue may be that the remote lost its programming. Most Chamberlain and Genie openers have a “Learn” or “Program” button on the motor unit itself. Press it, then press the button on your remote within 30 seconds. Done. This is purely electronic and carries zero mechanical risk. If it doesn’t work after two attempts, the problem may be in the opener’s logic board, which belongs in a different category entirely. See our Garage Door Opener Repair in San Bernardino page for what that involves.
The Do-Not-DIY List: Three Jobs With No Margin for Error
Some jobs are not difficult to understand. They are difficult to do safely. Understanding how a torsion spring works takes five minutes. Safely replacing one takes years of repetitions, proper winding bars, and the judgment to know when a spring is too fatigued to reuse. Here are the three jobs we tell every San Bernardino homeowner to leave alone.
Torsion Spring Replacement
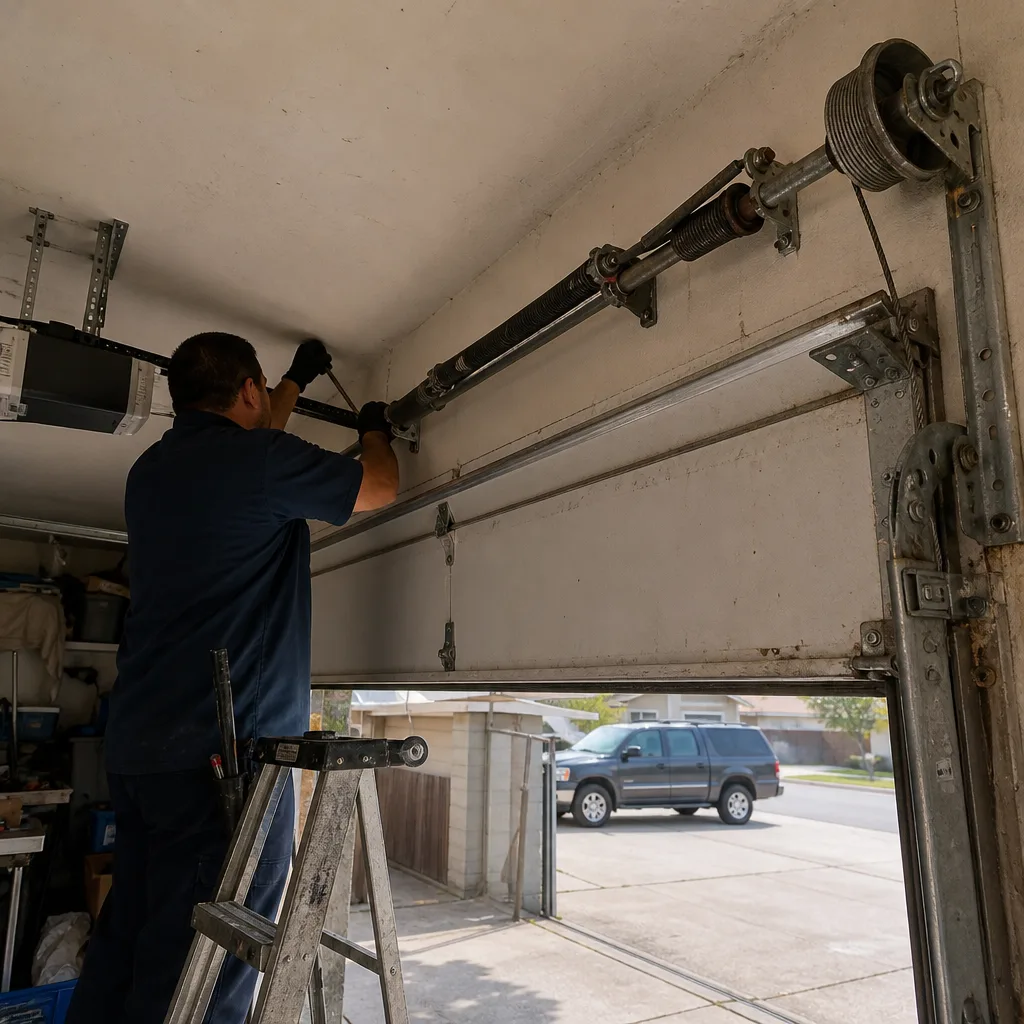
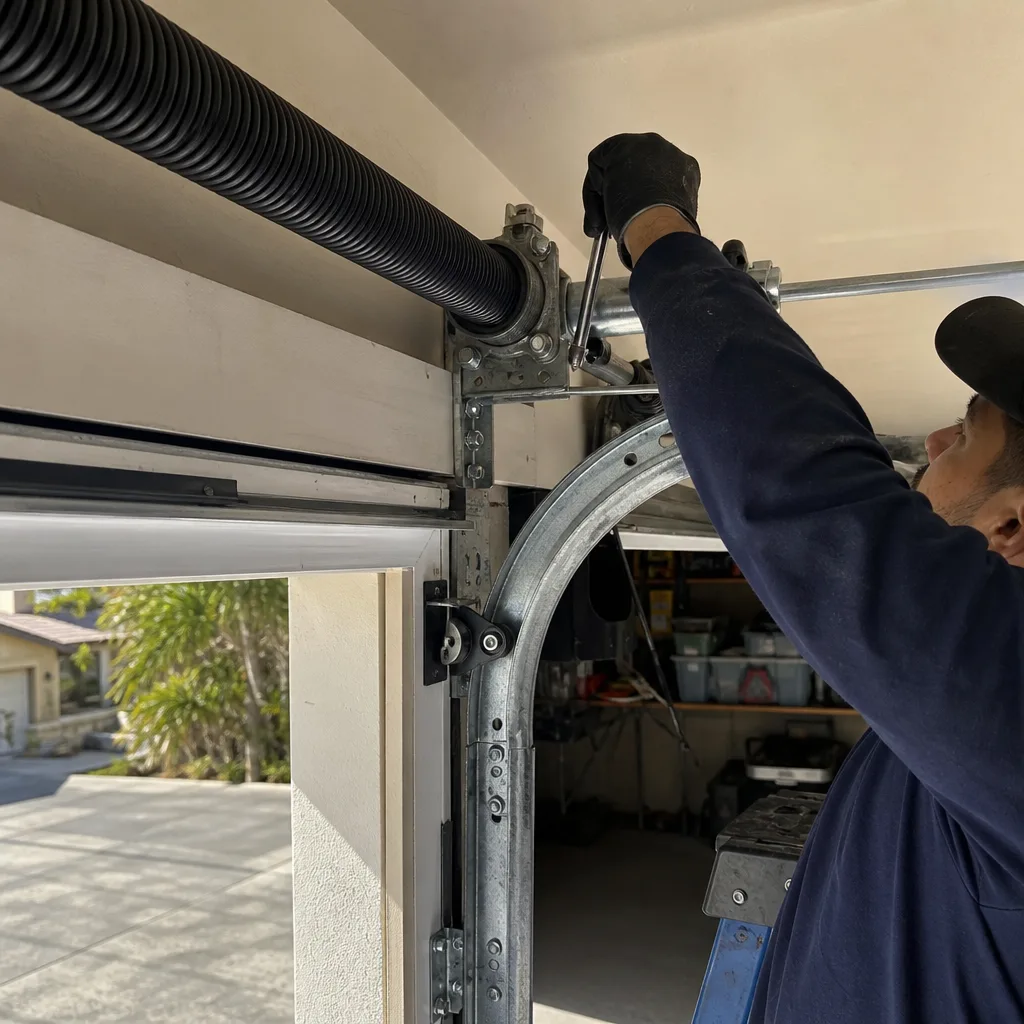
The torsion spring is the single most dangerous component on your garage door. It sits above the closed door, horizontally mounted on a shaft, and it holds the counterbalance force that makes your 200-pound door feel like 20 pounds. The spring is wound under tension. Replacing it requires unwinding the old spring, which means inserting steel winding bars into the cone and releasing torque one quarter-turn at a time. If a bar slips, the spring spins with tremendous force. The bars can strike whatever is in their path. The spring itself can fracture. There is a reason this job belongs to a professional, and it’s not that professionals want the work. It’s that they have the bars, the training, and the understanding of what “failure mode” means when 150 foot-pounds of torque is waiting to release.
Cable Replacement
Cables work in pairs. They run from the bottom brackets of the door, up along the tracks, and around the drums at the top. When one cable frays or snaps, the remaining cable is now holding an unbalanced load. The door will want to slide, twist, and drop. Replacing cables while the door is under any tension is dangerous because the cables are what keep the door from falling during the repair. Professional cable replacement involves clamping the door in place, relieving the spring tension, swapping the cables, and re- tensioning everything. Miss any step and the door comes down hard. Cables on Clopay doors, Amarr doors, and every other brand fail in hot, dry climates because the protective coating wears off and the steel beneath oxidizes. It’s a common San Bernardino issue. It’s still not a DIY fix.
Track Realignment Under Tension
If your door is rubbing, grinding, or sticking in a specific spot, the tracks may be out of alignment. Here’s the catch: the track holds the rollers, the rollers hold the door, and the door’s weight is counterbalanced by the springs. Adjusting a track means loosening the bolts that hold it to the wall. Do that while the door is under tension, and the track can shift, the rollers can pop out, and the door can fall. There are safe ways to adjust tracks, but they involve first securing the door in the fully open position, releasing spring tension, making the adjustment, and re- tensioning. If you know how to do all of that safely, you’re already a professional. If you don’t, don’t start now.
The Middle Zone: Jobs for the Mechanically Confident
Between the obviously safe and the obviously dangerous, there’s a middle zone of jobs that a mechanically confident homeowner can attempt, provided they understand what the stopping point looks like. These jobs require the right tools, a methodical approach, and the humility to stop when something isn’t cooperating instead of forcing it.
Minor Track Adjustment (With the Door Open and Secured)
If your door is simply rubbing lightly against one side of the track, and the bolts holding the track to the wall are accessible, you can loosen those bolts slightly, shift the track a quarter inch, and retighten. The key is doing this with the door fully open so the tension is minimized and the door is resting against the horizontal section of track rather than hanging from the vertical section. Use a level to verify the track is plumb. If you find that the track needs to shift more than a half inch, or if the bolts are stripped, or if the door is sagging even after adjustment, stop. That’s the signal that you’re dealing with a structural issue, not an alignment issue, and it’s time to bring in a professional.
Trolley Carriage Replacement on Some Opener Models
The trolley carriage is the part that rides along the rail and pulls the door open and closed. On some Chamberlain and Genie models, this carriage is a plastic unit that wears out after years of use, particularly in San Bernardino’s heat, which makes plastic components brittle faster. Replacement on a chain-drive or belt-drive opener involves disconnecting the door from the opener (serious caution: this is done with the door closed and the emergency release pulled), sliding the old carriage off the rail, installing the new one, and reconnecting. It’s doable with the right replacement part and a clear understanding of how the emergency release works. If you’re unsure about any step, especially the disconnection and reconnection sequence, call someone who repairs openers every day. That’s not a handyman’s side gig. It’s our entire Garage Door Opener Repair in San Bernardino service line, and it exists because opener internals confuse people in ways that springs don’t.
How San Bernardino Heat Changes the DIY Math
San Bernardino isn’t Phoenix, but the summer months still push temperatures past 100 degrees regularly, and that heat does specific, predictable things to garage door hardware. Understanding this matters because it changes which parts fail, how they fail, and how likely your DIY repair is to hold up.
Thermal expansion is the first factor. The metal components on your door (tracks, hinges, brackets, springs) expand and contract with every temperature swing. In San Bernardino’s inland climate, the daily swing between the 90-degree afternoon and the 55-degree night can be 30 to 40 degrees. Over time, that cycling works bolts loose. A bolt that you tightened to “good and snug” by hand will loosen faster here than it would in a coastal climate with stable temperatures. If you’re doing DIY work that involves fasteners, use the correct torque spec and consider thread-locking compound on critical bolts.
The second factor is UV degradation of non-metal parts. Weatherstripping, bottom seals, plastic sensor housings, and the plastic gears inside some opener models all degrade faster under intense sun and heat. An Amarr door with a wooden-look finish will hold up, but the vinyl trim around it will crack. A Genie opener with a plastic gear inside the drive will strip faster in heat. These failures are gradual and visible if you look. They’re also exactly the kind of job a homeowner can handle: replacing a $20 seal or a $30 weatherstrip before it becomes a bigger problem.
The third factor is the one that creates work for us: the interaction between heat-loosened hardware and the high-cycle use patterns of San Bernardino households. Garages in this city aren’t just places to park. They’re workshops, storage units, and sometimes extra living space. That means the door cycles more often than a typical suburban door in a cooler climate. More cycles plus heat-loosened fasteners equals more wear on rollers, hinges, and springs. When you’re doing your own lubrication and inspection, check the bolts on the hinges and brackets while you’re in there. A five-minute bolt check with a socket wrench can prevent a major repair later. For new door installation, we cover the full range of what’s available on our Garage Door Installation in San Bernardino page.
You Already Tried It: What to Tell Your Technician
We’re not going to pretend that homeowners always follow the advice above. Sometimes people start a repair, realize they’re in over their heads, and then call us. That’s fine. Disclosure helps us diagnose faster and avoid making assumptions that lead to misdiagnosis. Here’s what to tell the technician when they arrive.
First, tell them exactly what you attempted. “I tried to replace the bottom seal” is different from “I loosened the track bolts and then tightened them again” or “I started to unwind the spring and stopped.” Each of those scenarios leaves a different fingerprint on the door’s current condition. If you started a spring and stopped, the spring may now be unevenly wound. If you loosened and retightened track bolts, the track may now be subtly out of parallel. These details aren’t embarrassing confessions. They’re diagnostic data.
Second, tell them exactly what you observed when you stopped. “The door started making a grinding noise after I tightened the hinge bolts,” or “The remote worked before I reprogrammed it, and now the wall button doesn’t work either.” Observations are more useful than conclusions. Tell us what you saw and heard, not what you think is wrong.
Third, tell them about any parts you removed, bent, cut, or replaced. A bent hinge, a stretched cable, a seal you cut too short and installed anyway: these all matter. If a temporary fix is currently holding the door together, we need to know that before we operate the door and risk releasing whatever’s held together. The worst situation our San Bernardino technicians encounter is a door with a concealed DIY “fix” that fails during diagnosis. That’s how people get hurt and how doors get damaged.
Common Mistakes to Avoid
- Lubricating everything with a generic spray. WD-40 and similar products are solvents and will strip the lubricant off rollers and hinges, making them wear faster. Use white lithium grease or a garage-door-specific lubricant on moving metal parts only.
- Replacing the wrong remote battery. San Bernardino heat kills remote batteries faster than the buttons wear out, but before you replace the battery, make sure the opener’s wall button still works. If the wall button works and the remote doesn’t, it’s the remote. If neither works, it’s the opener.
- Adjusting the spring tension instead of the limits. When a door doesn’t close fully, homeowners sometimes try to “tighten” the spring. That doesn’t fix the problem and creates a dangerous imbalance. Door travel limits on the opener are the correct adjustment for most open/close issues.
- Ignoring the sound of the door. A door that gets louder over a few weeks is communicating something. Grinding usually means worn rollers or hinges. A loud bang usually means a cable or spring problem. Silent operation followed by a sudden noise is a warning, not a coincidence.
- Tightening every bolt you can reach without checking alignment. Crank down a track bolt in the wrong position and you’ll bend the track, bind the rollers, and create a problem that didn’t exist before. Check alignment before torqueing anything.
- Assuming the door is safe because it’s closed. A closed door with a broken spring is still dangerous because the spring, if partially wound, can release when you start loosening things. Don’t assume anything about the stored energy based on the door’s position.
- Waiting for the “right time” to address a minor problem. In San Bernardino, minor problems with garage doors become major problems faster than people expect. Heat acceleration means a noisy roller becomes a seized roller becomes a broken cable sooner here than in cooler cities.
When to Call a Professional
Call a professional when the door has a broken spring, a snapped cable, a door that’s off its track, or any problem where the door itself needs to be lifted or secured under tension. Call when the opener’s motor runs but the door doesn’t move, which usually signals a stripped gear or a broken carriage. Call when you’ve attempted a repair and the door now behaves differently than it did before. Call when you can hear the problem before you can see it.
Garage doors are all we do. That’s not a slogan. It’s the entire scope of our work at San Bernardino Garage Door Co. San Bernardino homeowners who call us for a spring, cable, or opener problem get a technician who works on doors like theirs every single day. For more guides & resources, visit our blog. San Bernardino Garage Door Co offers free estimates in San Bernardino – call (855) 763-8905 to schedule yours.
Frequently Asked Questions
No. A torsion spring is under 130 to 250 pounds of counterbalance force, and the tools and technique required to release and re-tension that force safely are not beginner-level. The risk of serious injury from a slipping winding bar is real, and the cost of professional replacement is substantially lower than the cost of an emergency room visit. Call (855) 763-8905 and we’ll quote the spring replacement before any work starts.
Spring replacement in San Bernardino typically falls in the $180 to $340 range for a standard residential torsion spring, including the part and labor. For a detailed look at pricing factors, see our Garage Door Cost Breakdown: The San Bernardino Homeowner’s Reference for 2026. The exact price depends on whether you have one spring or two, the door’s weight class, and the cycle rating of the replacement spring. We quote the price upfront and it doesn’t change once we see the door.
Weatherstrip replacement, bottom seal swaps, roller lubrication, photo-eye sensor realignment, and remote reprogramming are all safe DIY jobs. None of these involve touching the springs, cables, or any component under tension. If you’re comfortable with basic tools, these five jobs are yours.
Pull the emergency release cord (usually a red handle hanging from the opener rail) with the door closed, then try to lift the door manually. If it opens smoothly by hand, the door and springs are fine and your problem is in the opener. If it’s heavy, stuck, or won’t stay up on its own, the problem is in the door’s balance system. That distinction tells us a lot before we even arrive.
Yes. Thermal expansion cycles loosen hardware faster, UV radiation breaks down vinyl and rubber components, and plastic opener parts like gears and carriages become brittle and strip more easily in sustained high heat. Annual lubrication and a bolt-check on hinges and brackets will slow the wear significantly.
Stop working on it. Secure the door in whatever position it’s currently in, unplug the opener if you were working on the opener, and call us. Tell the technician exactly what you attempted, what you observed when you stopped, and what parts you removed or loosened. That information gets us to the correct diagnosis faster and keeps everyone safe. The phone number is (855) 763-8905.
The Bottom Line
The DIY versus professional question on garage doors in San Bernardino comes down to consequence, not competence. Weatherstripping, seals, lubrication, sensors, and remotes are homeowner jobs. Springs, cables, and track work under tension are professional jobs. The middle zone exists for people who know their tools, but even there, the stopping point matters more than the starting point. San Bernardino’s heat accelerates hardware failures and makes annual inspection genuinely worthwhile. When a repair goes beyond the safe DIY list, the right move is a specialist who works on every major brand and nothing else. San Bernardino Garage Door Co home is exactly that, and we’re one call away.
Written by the team at San Bernardino Garage Door Co, serving San Bernardino since 2016.
See the difference
 Before
 After
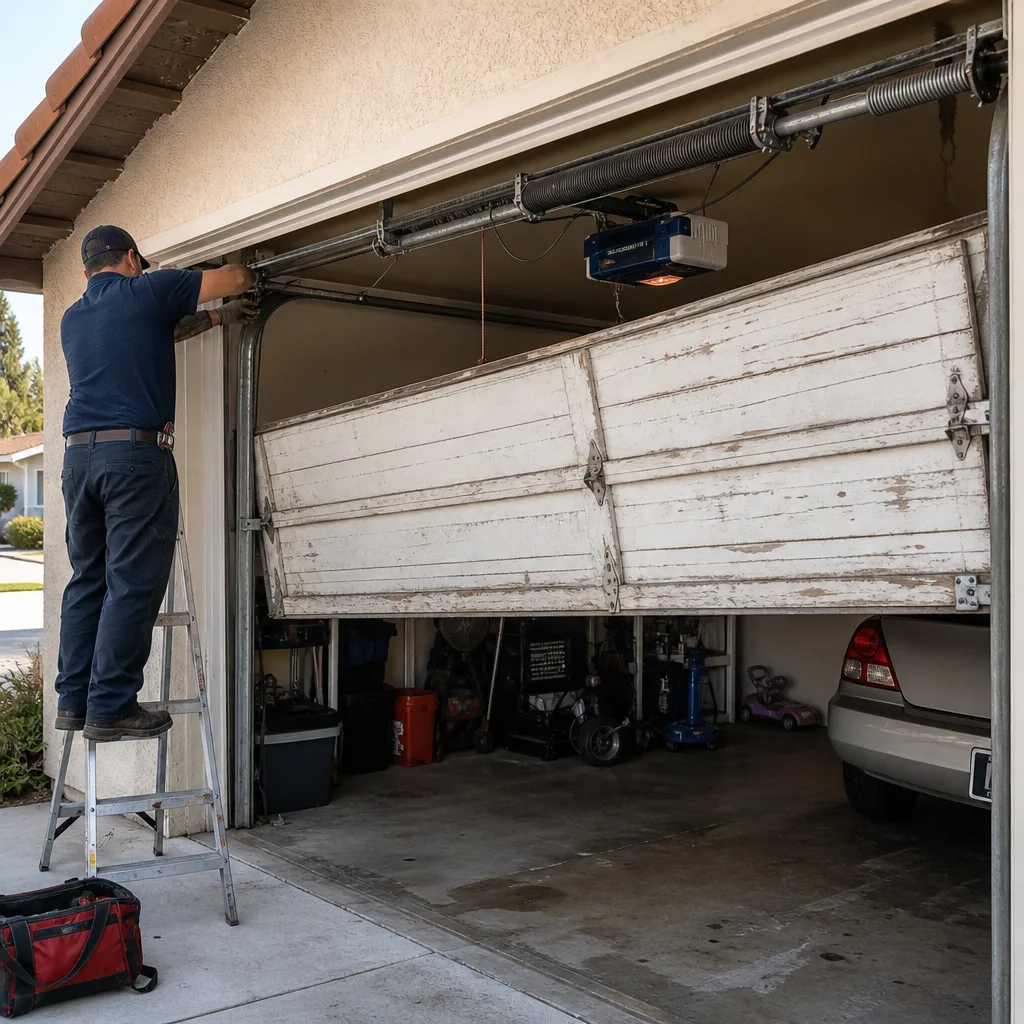 Before
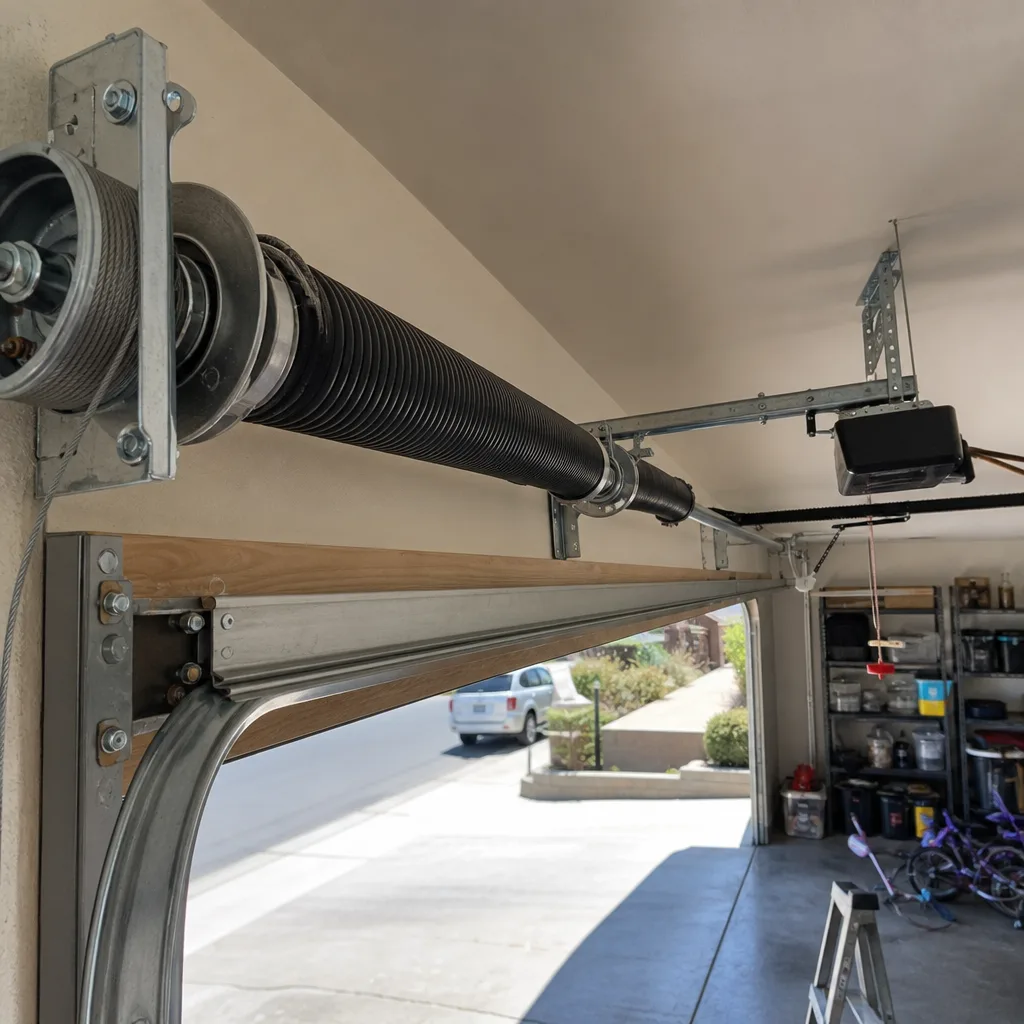 After
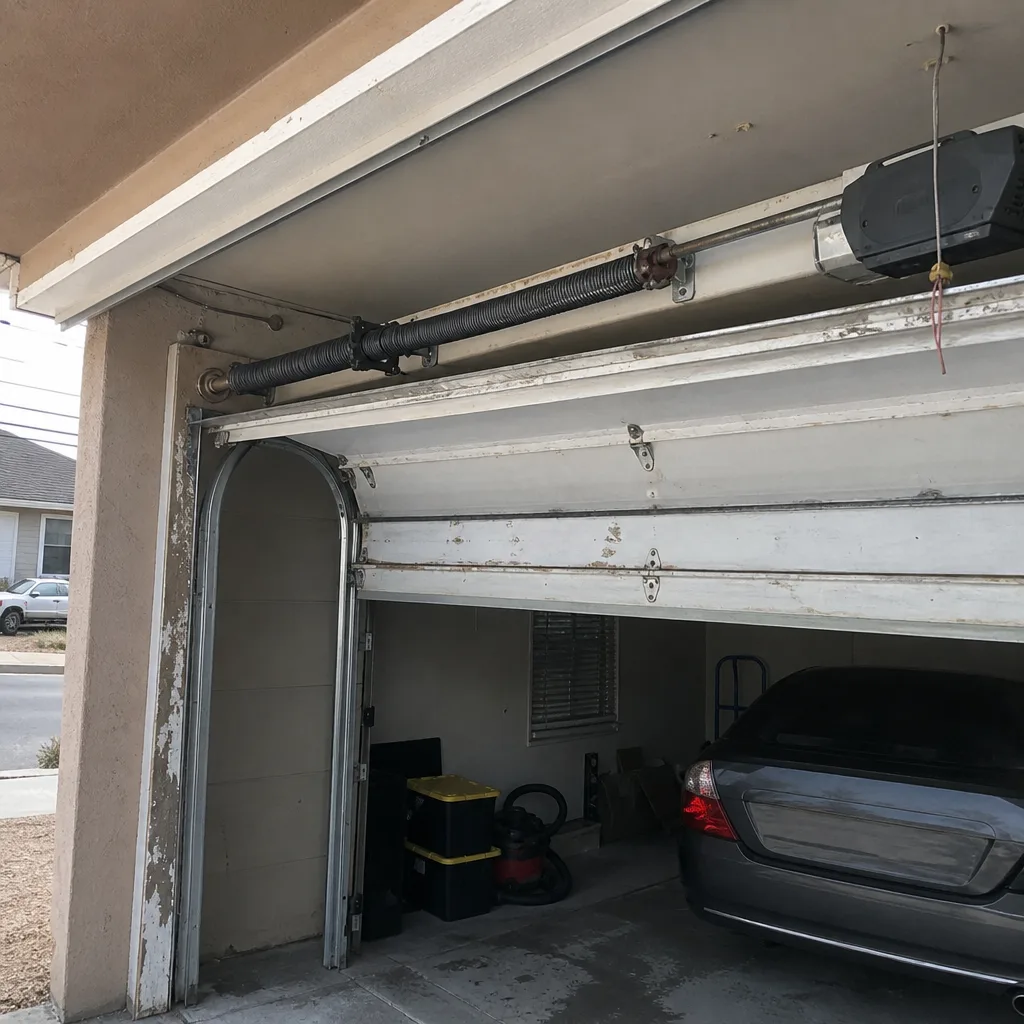 Before
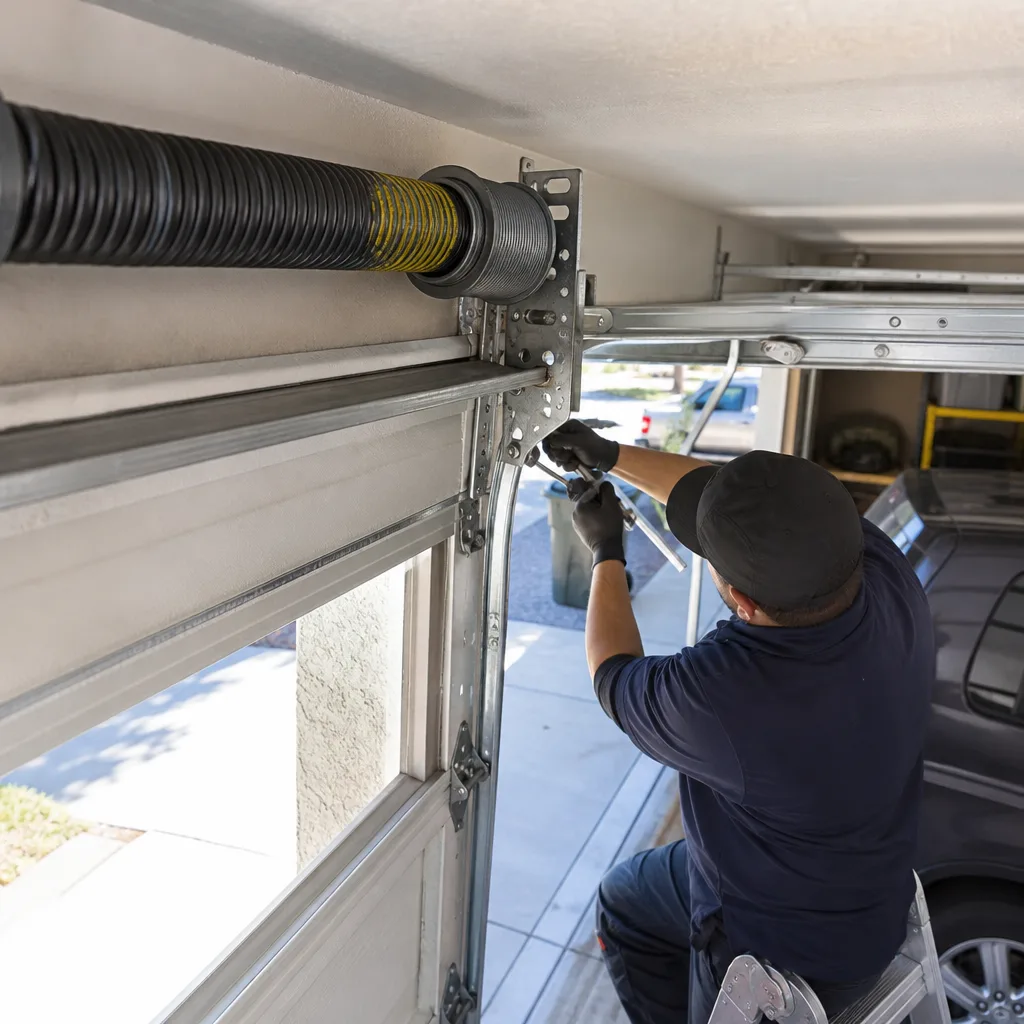 After